Pipeline Inspection Workflow
The Pipeline Inspection Workflow in the New Mexico Public Regulation Commission's (NMPRC) Case Management System enables the Pipeline Safety Bureau (PSB) to efficiently manage inspection activities for regulated pipeline companies.
Before You Begin
Prerequisites:
- You must have PSB Supervisor or PSB Staff role to access this module
- The company must be registered in the system (see Register New Company)
- You should understand the different inspection types available (see Inspection Types below)
Key Concepts:
- Lead Inspector: Only one Lead Inspector can be assigned per inspection
- Additional Staff: Multiple supporting staff can be assigned
- Inspection Status: Tracks progress from In Progress → Partial Compliance/Unsatisfactory Finding → Closed
- Templates: Generate standardized regulatory documents using predefined templates
The Pipeline Inspection module allows PSB Supervisors and PSB Staff to create, manage, and track inspections. It provides clear visibility into inspection activities, assignments, schedules, and compliance outcomes.
This module supports creating new inspections, assigning responsible staff, scheduling field inspections, documenting re-inspections, managing documents, and tracking the inspection lifecycle through closure. Notifications, reminders, and reporting tools help ensure timely follow-up and effective compliance monitoring.
| Role | Key Functionalities |
|---|---|
| PSB Supervisor | Create and assign inspections, update or close inspection statuses, upload and view documents, monitor all inspections, and run reports. |
| PSB Staff | Access assigned inspections, add field/re-inspection details, upload internal documents, and update status (except closure). |
| PSB Bureau Chief | Review inspection findings and sign official NOPV documents. |
| System Administrator | Manage user access, workflow configurations, and notifications. |
| COS Supervisor / COS Staff | View and generate inspection reports for tracking and compliance monitoring. |
| Internal Users | View company inspection history and related documents. |
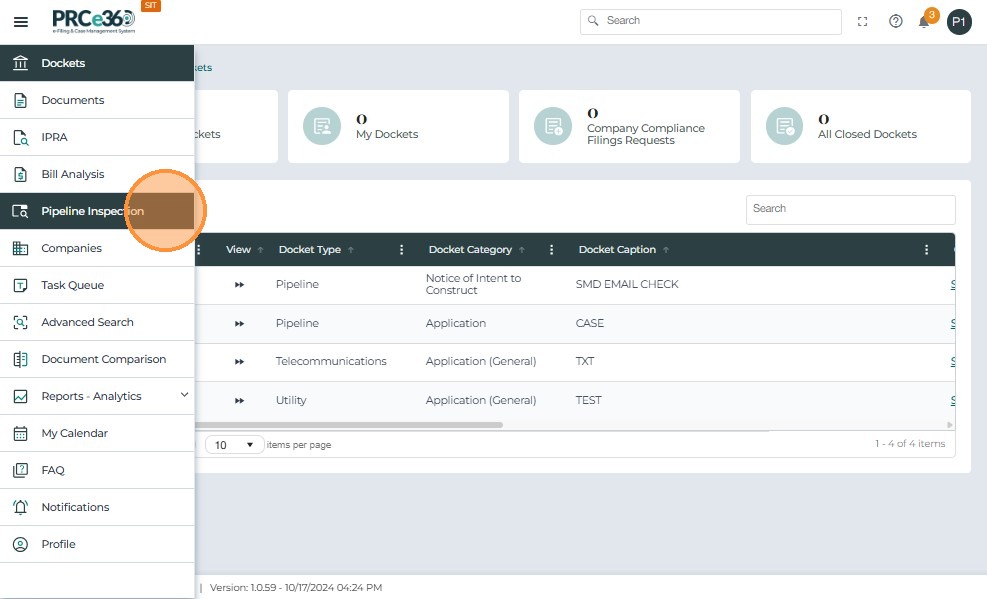
Accessing the Pipeline Inspection Module
- Enter your username or email and password, then click Sign In to access the system.

- From the left-side menu, select Pipeline Inspection under the main module list to open the inspection dashboard.
-
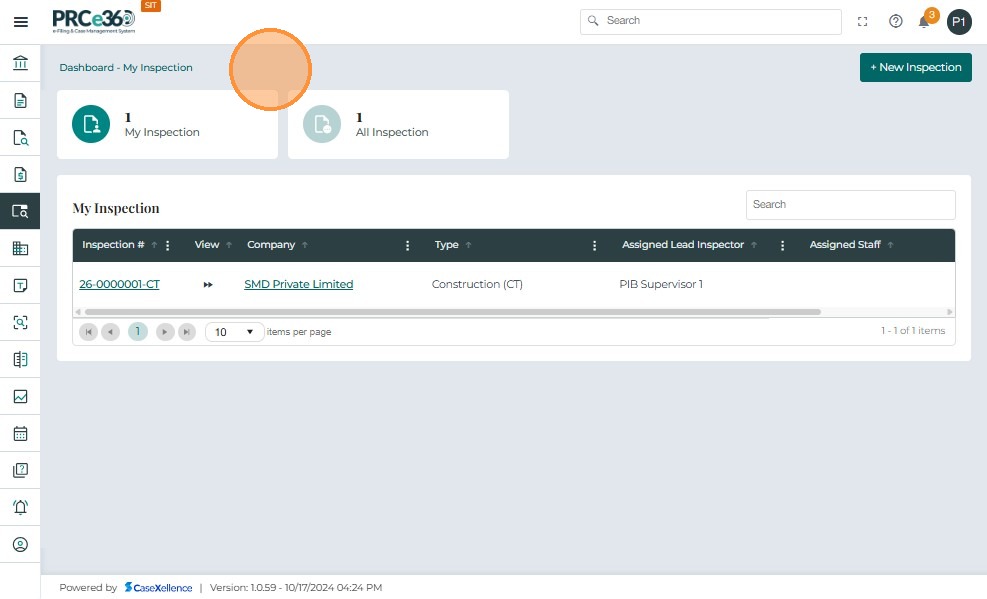
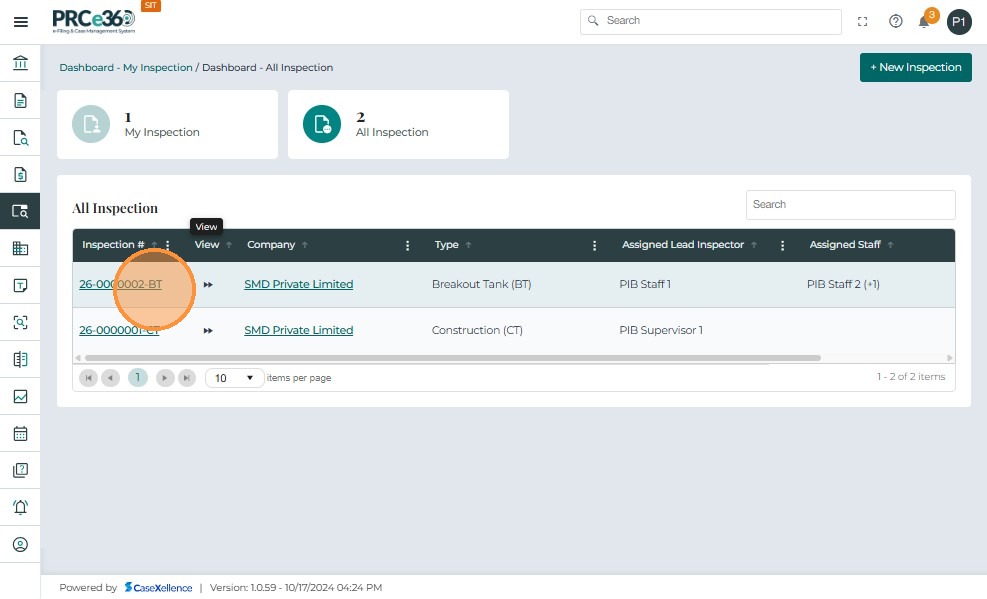
The dashboard displays:
-
All Inspection – shows all inspections in the system.
-
My Inspection – lists inspections assigned to the logged-in user.
-
-
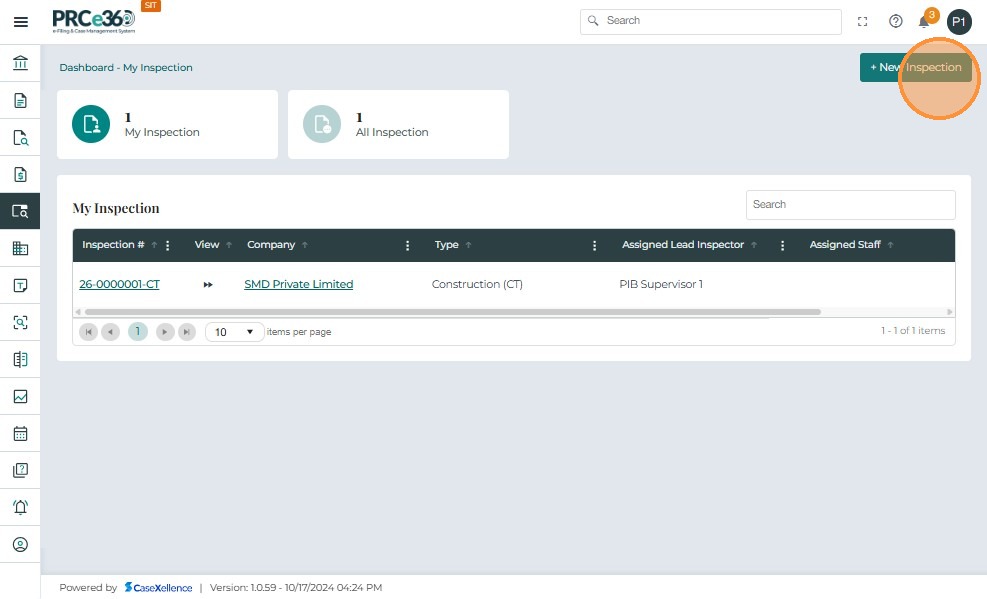
PSB Supervisors can click + New Inspection to create a new inspection.
Pipeline Inspection Workflow Overview
The following diagram illustrates the pipeline inspection lifecycle:
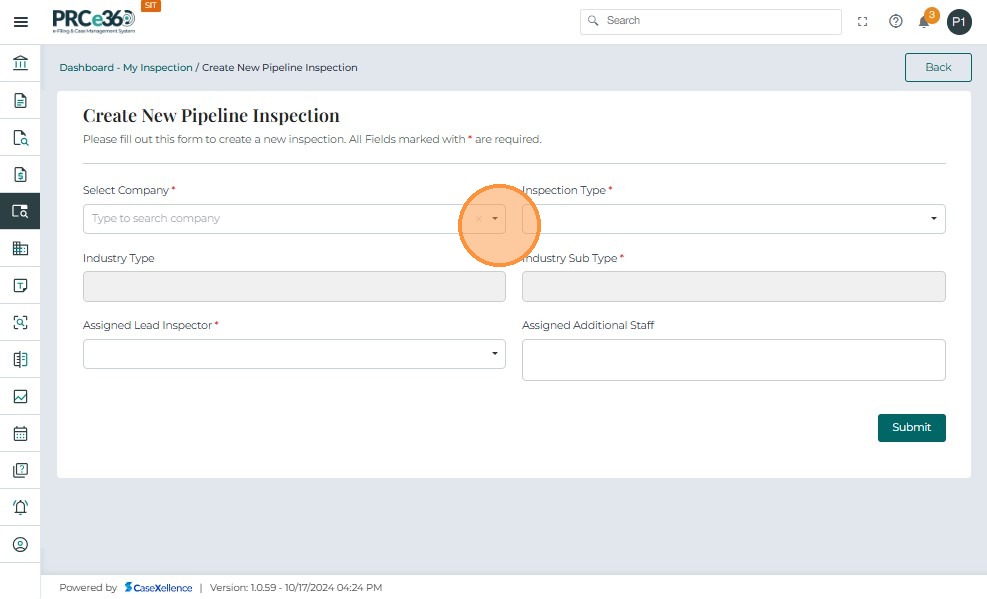
Creating a New Pipeline Inspection
-
Only users with the PSB Supervisor role can create a new inspection.
-
When the PSB Supervisor clicks the + New Inspection button from the Pipeline Inspection dashboard, the Create New Pipeline Inspection form opens.
-
All fields marked with an asterisk (*) are mandatory.
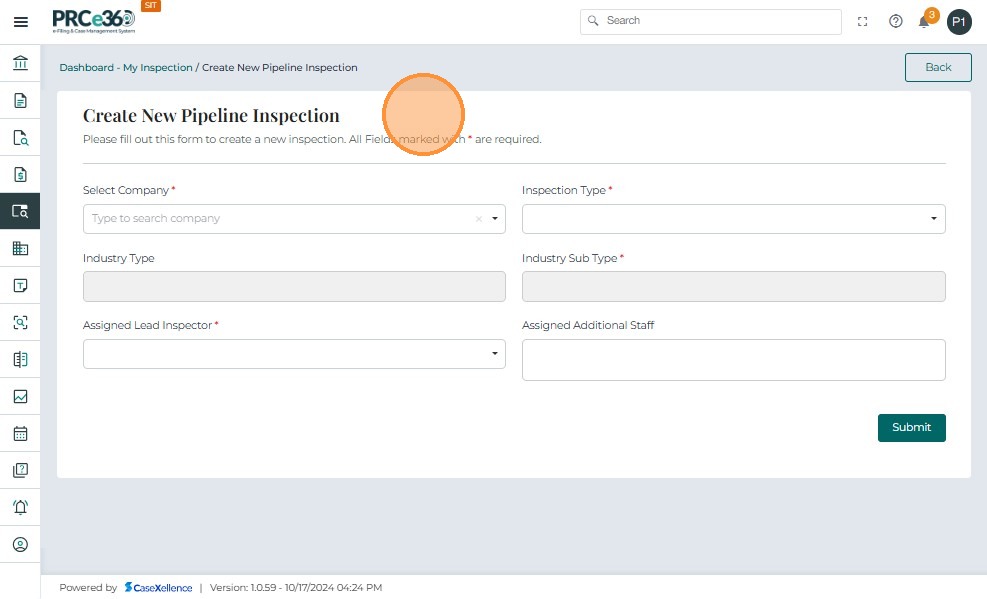
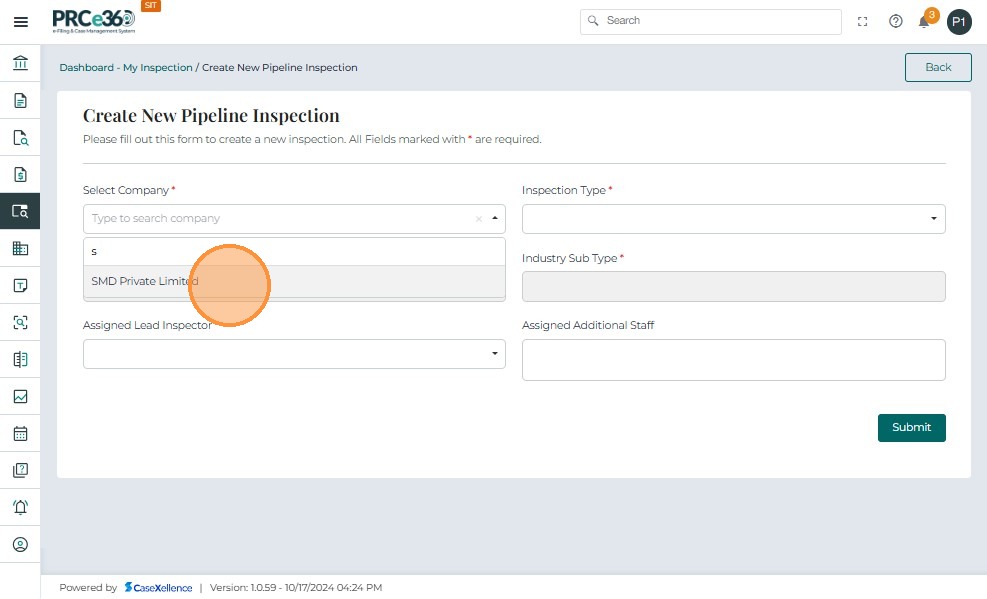
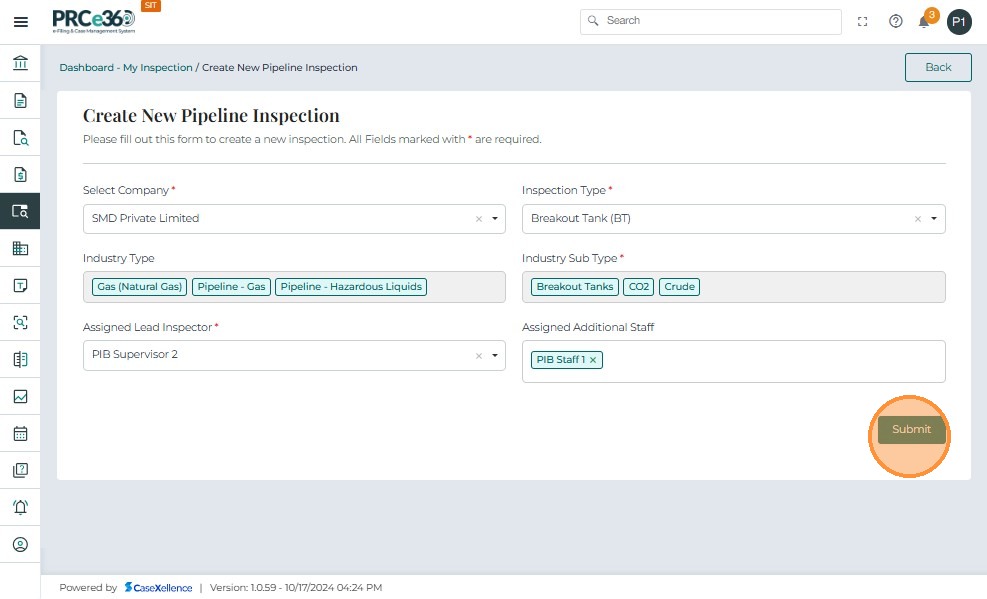
The PSB Supervisor must search and selects a company from the list.
Once a company is selected:
-
Industry Type (multi-select) auto-populates with all industries associated with that Company.
-
Industry Sub Type (multi-select) auto-populates based on the Industry Type selections.
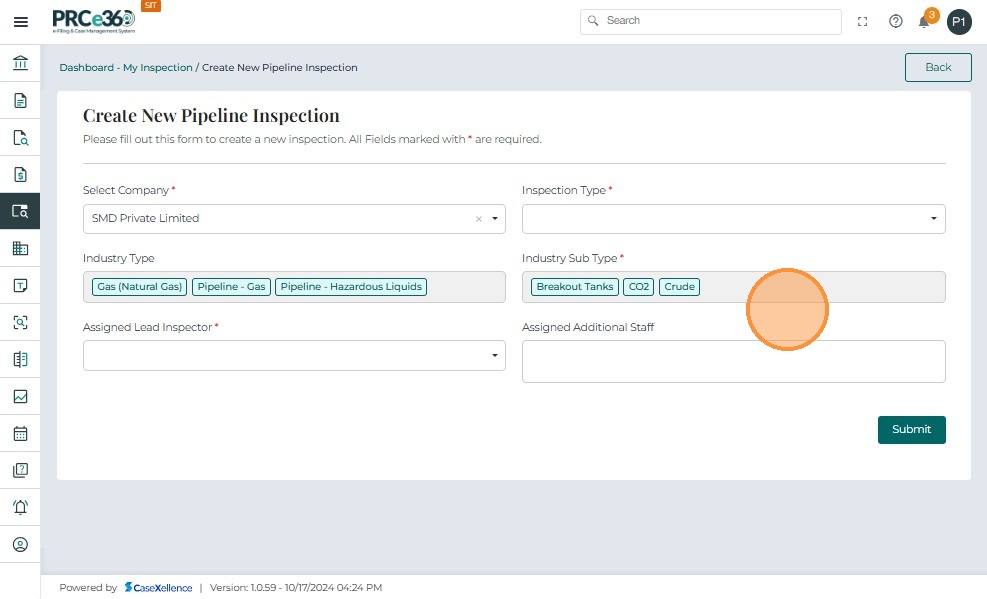
Industry Type (Auto-populated)
-
Displays multiple chips (e.g., Gas, Pipeline – Gas, Pipeline – Hazardous Liquids).
-
These values cannot be edited manually .
Industry Sub Type (Auto-populated)
-
Populates automatically based on Industry Type.
-
Supports multiple selections
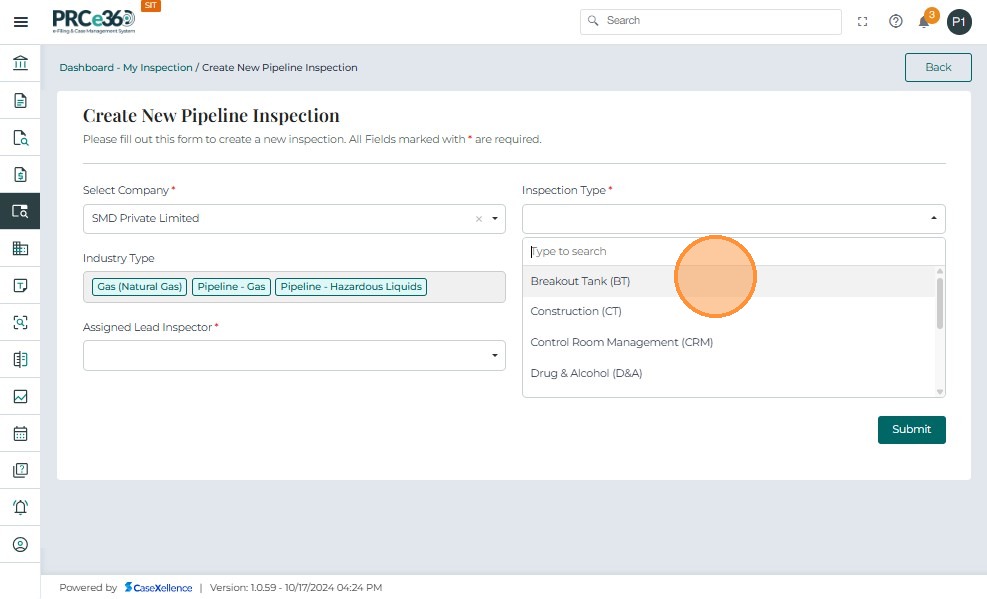
-
User selects the inspection type from the list filtered by Industry Type.
-
The system provides the following predefined inspection types:
| Inspection Type | Description |
|---|---|
| Standard Comprehensive (SD) | Full review of company operations and compliance. |
| Integrity Management Plan (IMP) | Inspection focused on pipeline integrity and maintenance plans. |
| Operator Qualification (OQ) | Review of staff qualifications and certifications. |
| Drug & Alcohol (D&A) | Compliance inspection related to substance testing programs. |
| Control Room Management (CRM) | Assessment of control room procedures and safety. |
| Public Awareness (PA) | Review of public communication and awareness measures. |
| Breakout Tank (BT) | Inspection of breakout tanks under hazardous liquids. |
| Construction (CT) | Oversight of pipeline construction activities. |
| Master Meter (MM) | Evaluation of master meter systems and compliance. |
- The Assigned Lead Inspector field is mandatory and can only be filled by a PSB Supervisor.
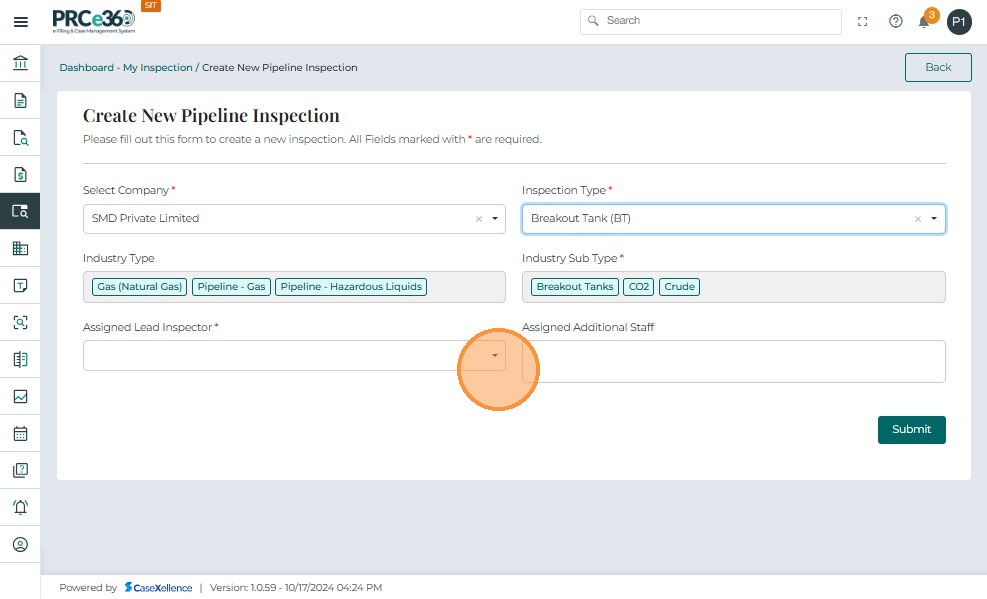
-
This dropdown displays users with the roles PSB Supervisor and PSB Staff.
-
Only one Lead Inspector can be assigned to each inspection record.

-
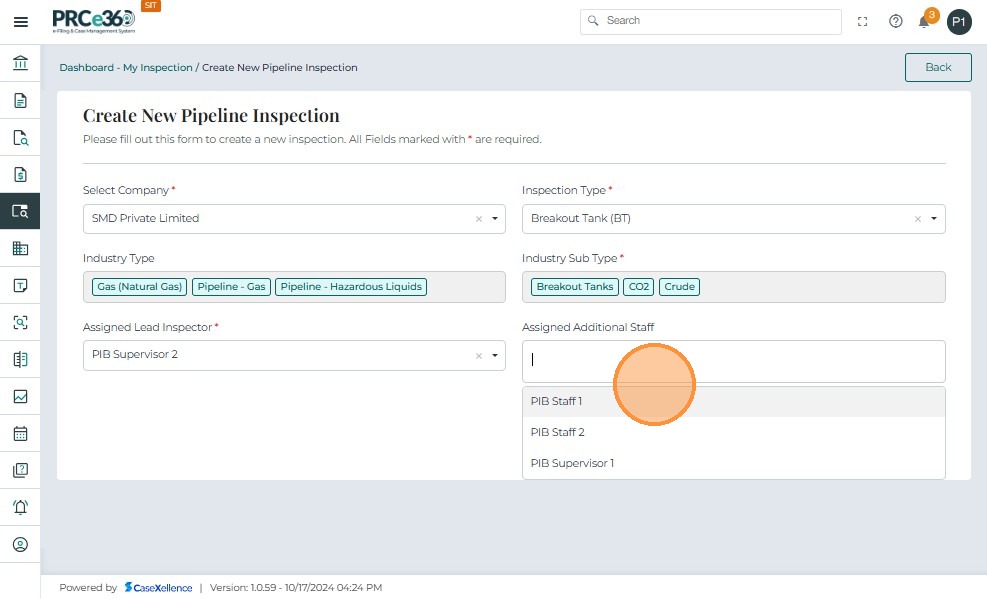
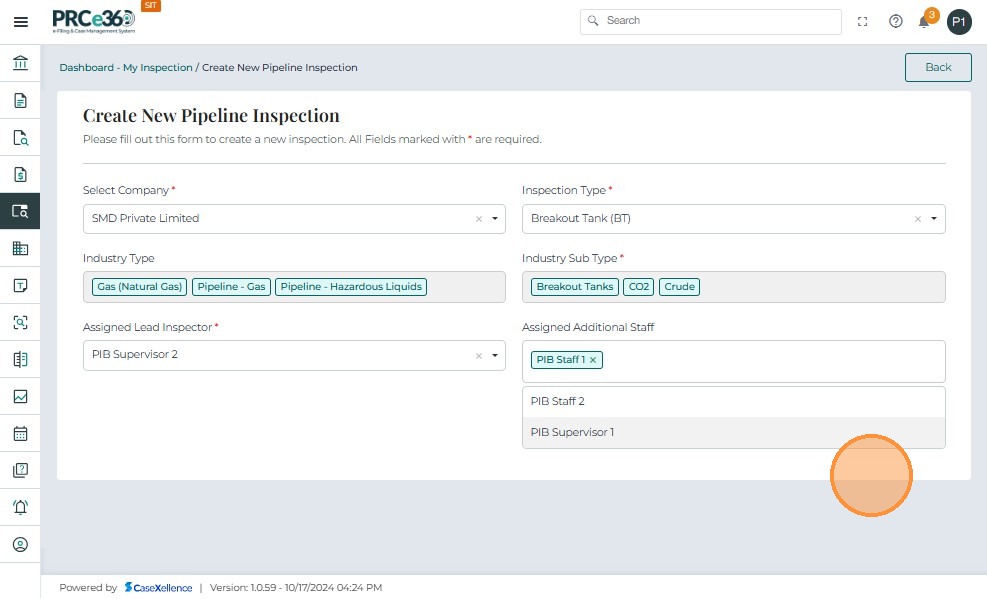
The Assigned Additional Staff field allows the PSB Supervisor to include one or more PSB users as supporting staff for the inspection.
-
This field is optional and can be used to ensure collaboration among multiple staff members.
-
Only users with the roles PSB Supervisor or PSB Staff are displayed in the dropdown list.
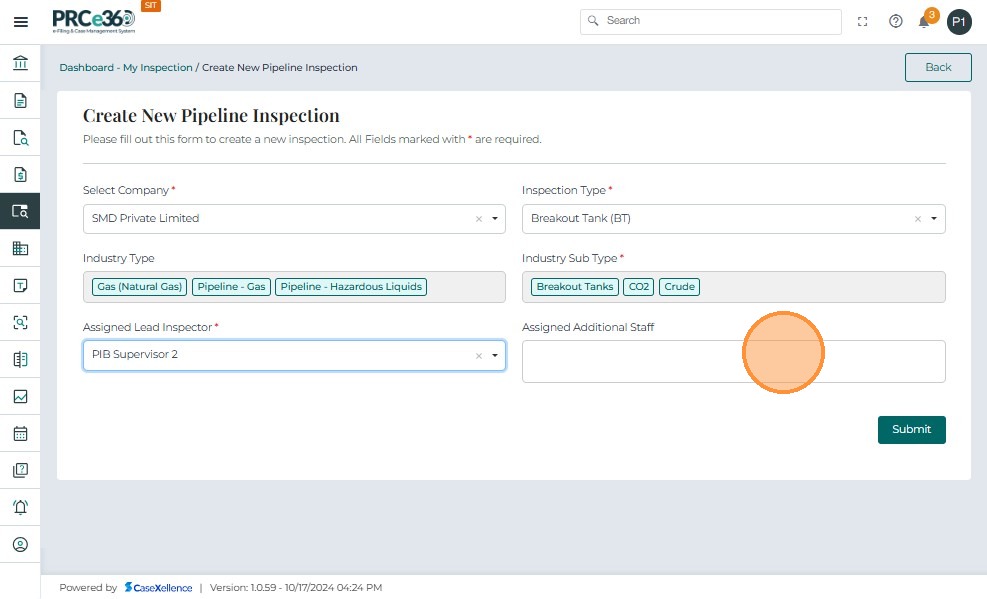
- The PSB Supervisor can select multiple users from the list, such as PSB Supervisor 1 and PSB Staff 1.
-
Once all mandatory fields are filled — including Company Type, Company Sub Type, Company, Inspection Type, and Assigned Lead Inspector — the Submit button becomes active.
-
Only the PSB Supervisor has the authority to submit a new inspection.
-
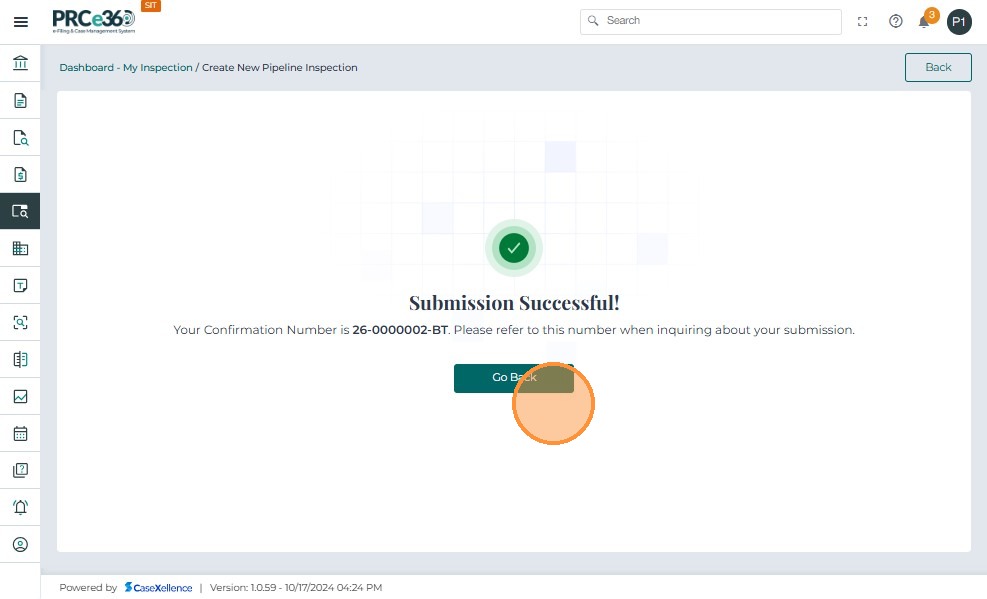
Upon clicking Submit, the system validates all fields and creates the inspection record.
-
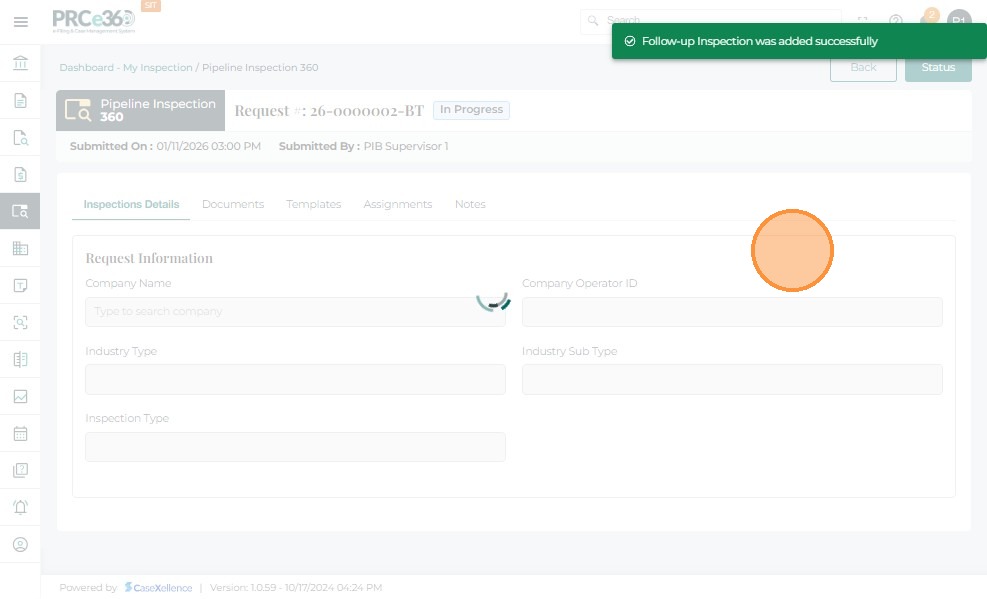
After successful submission, the system displays a confirmation message along with a unique Inspection ID.
-
The inspection status automatically changes to In Progress.
-
All assigned users receive an in-system notification.
-
Assigned users also receive an email notification with inspection details and a direct link.
-
The user can return to the Pipeline Inspection Dashboard using the Go to Home button.
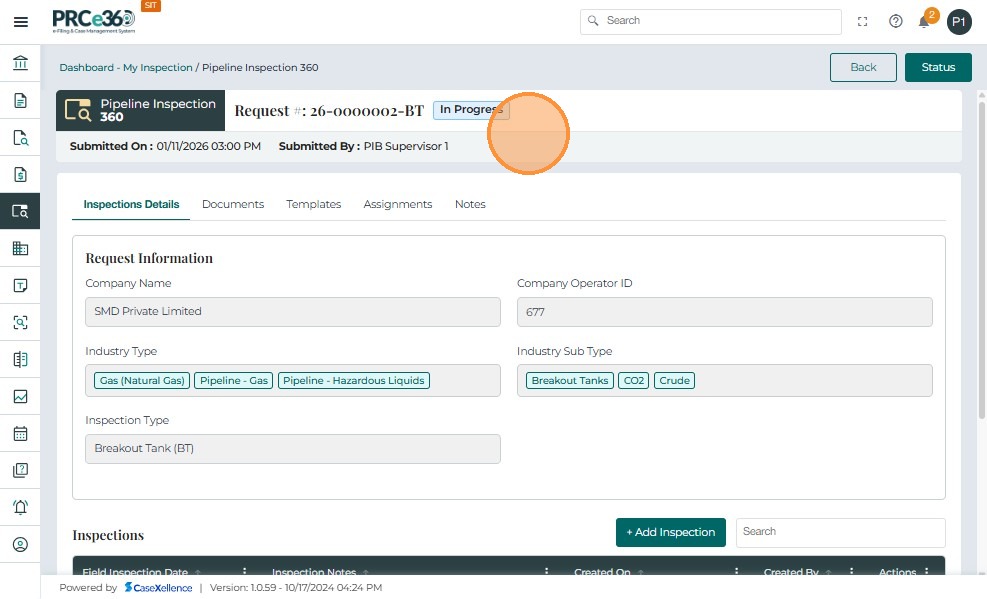
Viewing Inspection Details
-
Once an inspection is created, it appears on the Pipeline Inspection Dashboard.
-
To view details, click the Inspection #.

-
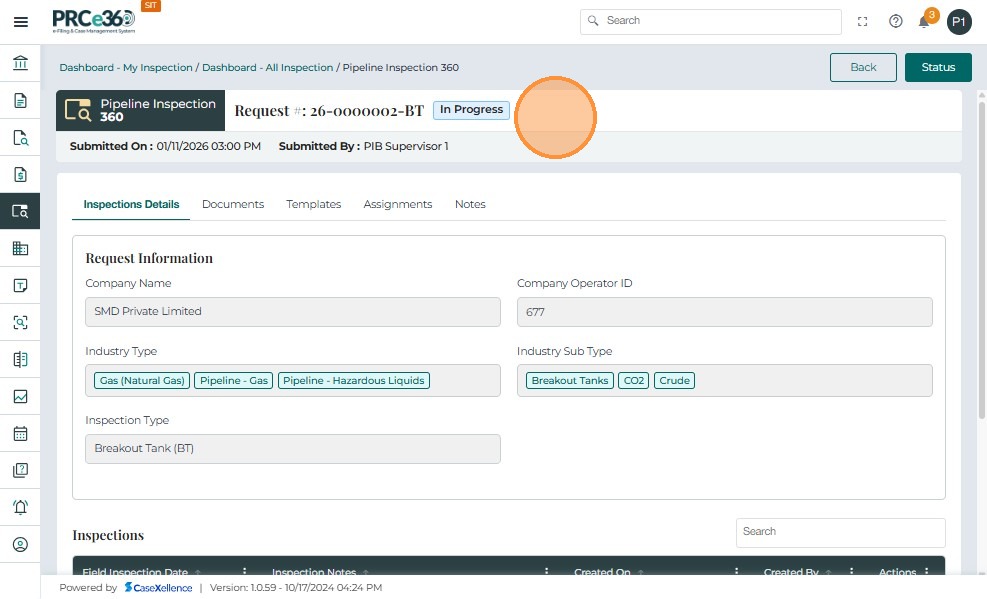
When the user clicks an Inspection ID (for example, 25-0000003-BT), the system opens the Pipeline Inspection 360 page.
-
This page is divided into three tabs:
-
Inspection Details
-
Documents
-
Assignments
-
Templates
-
-
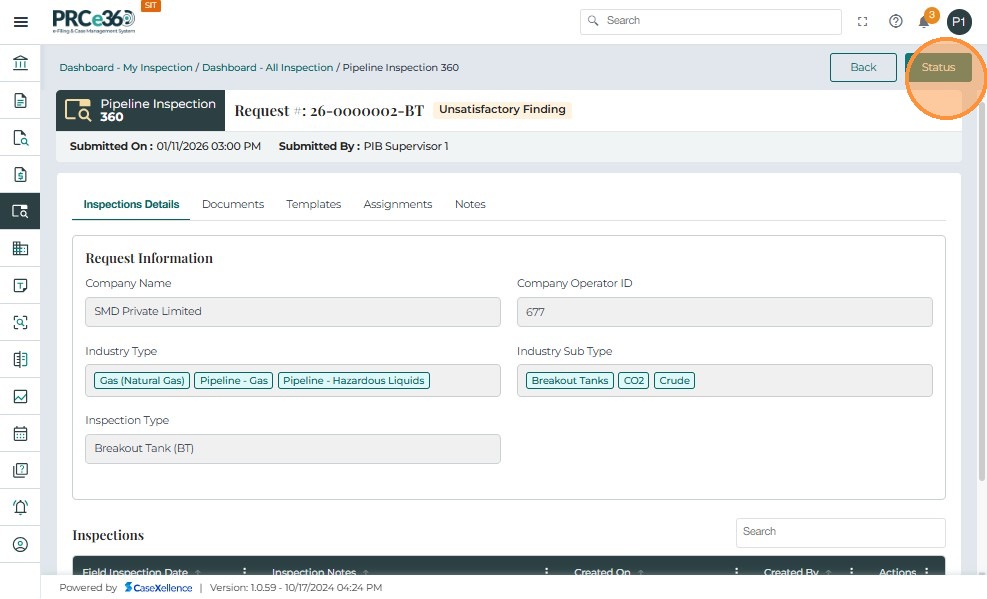
The header section displays key information, including:
-
Request Number – Unique inspection ID
-
Status – Current status (e.g., In Progress)
-
Submitted On – Date and time the inspection was created
-
Submitted By – PSB Supervisor who created the inspection
-
-
Under the Inspection Details tab, users can view company and inspection data captured during creation.
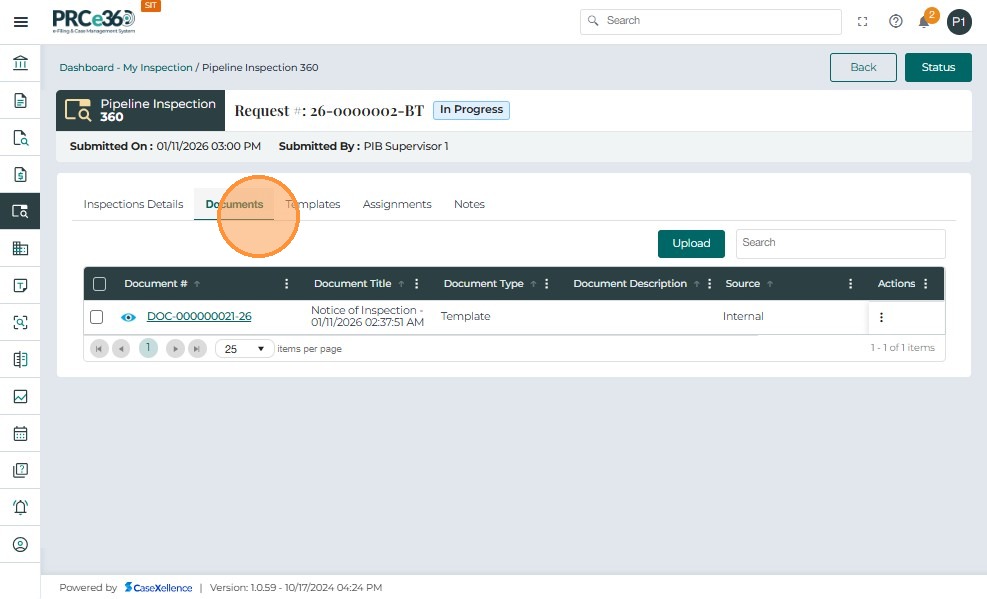
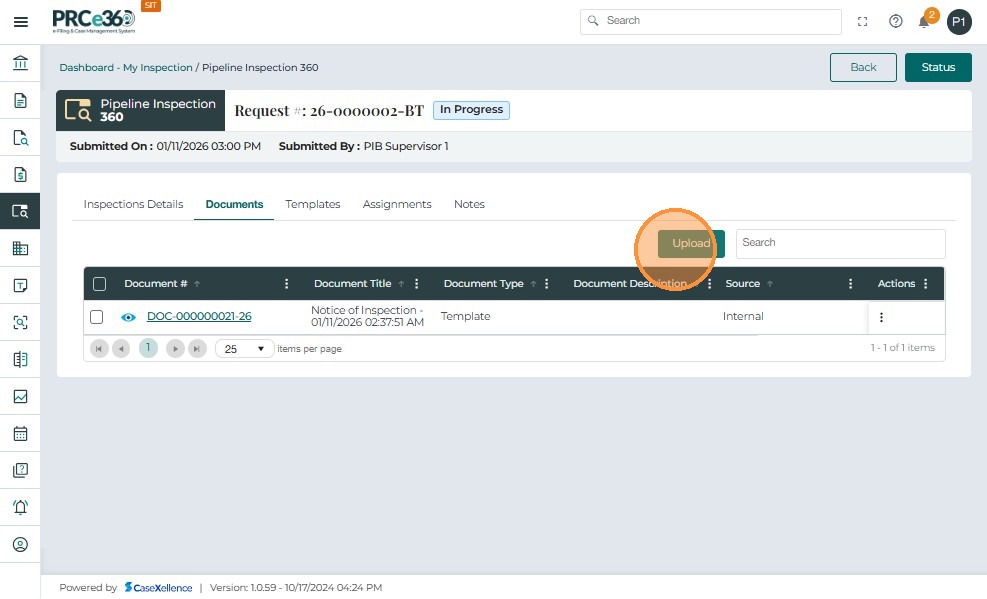
Viewing and Managing Inspection Documents
-
Click the Documents tab within the Pipeline Inspection 360 screen to view files related to the inspection.
-
This tab displays all internal documents linked to the inspection record.
-
Assigned users can upload documents directly from this tab.


- When the user click on the actions button , they can View the document and edit the document.

- The view and edit functionalities are covered in Document Linking. See Document Linking for more details.
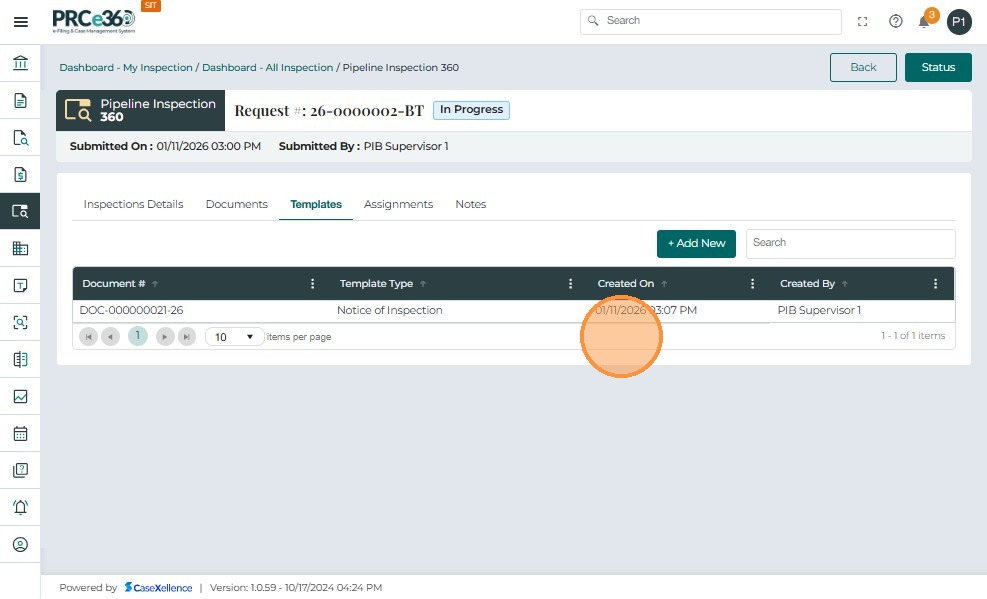
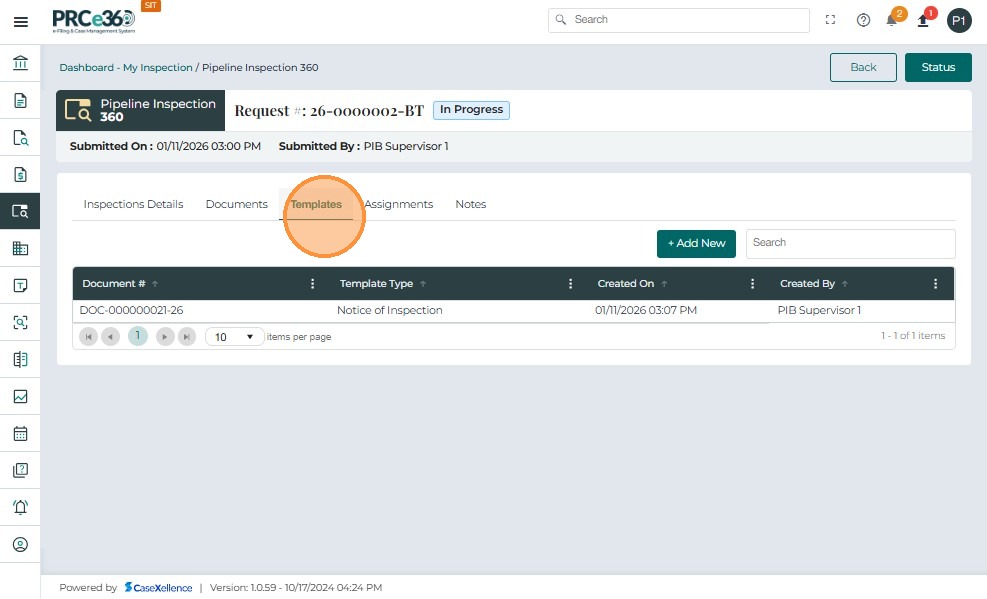
Templates Tab
The Templates tab allows PIB Supervisors and PIB Staff to generate standardized regulatory documents for the inspection. These documents are created using predefined templates and are saved under the inspection record.
- Navigate to Templates tab inside the Pipeline Inspection 360 page
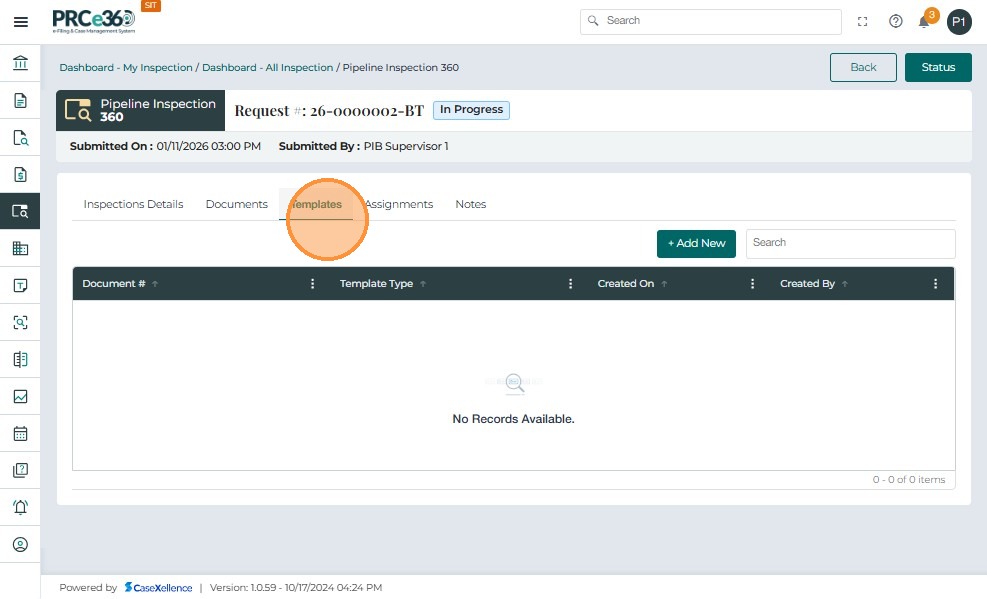
- Click + Add New.
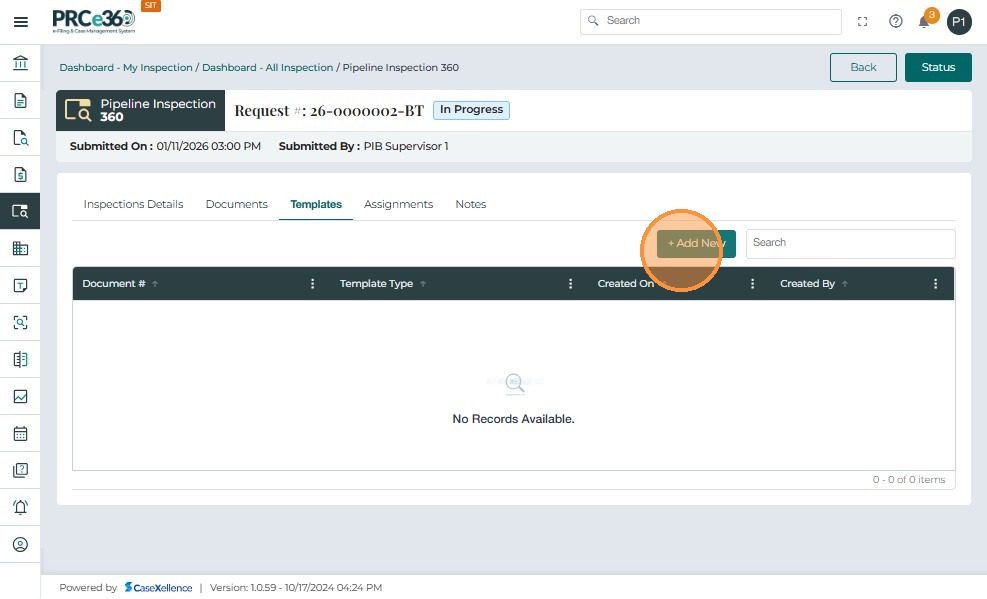
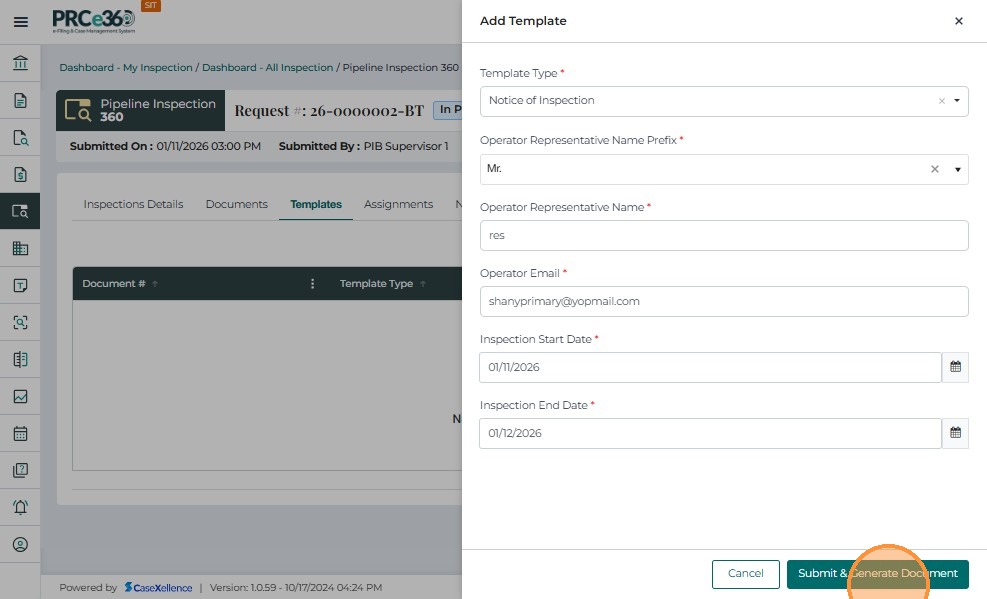
- In the Add Template panel, select a Template Type from the dropdown.
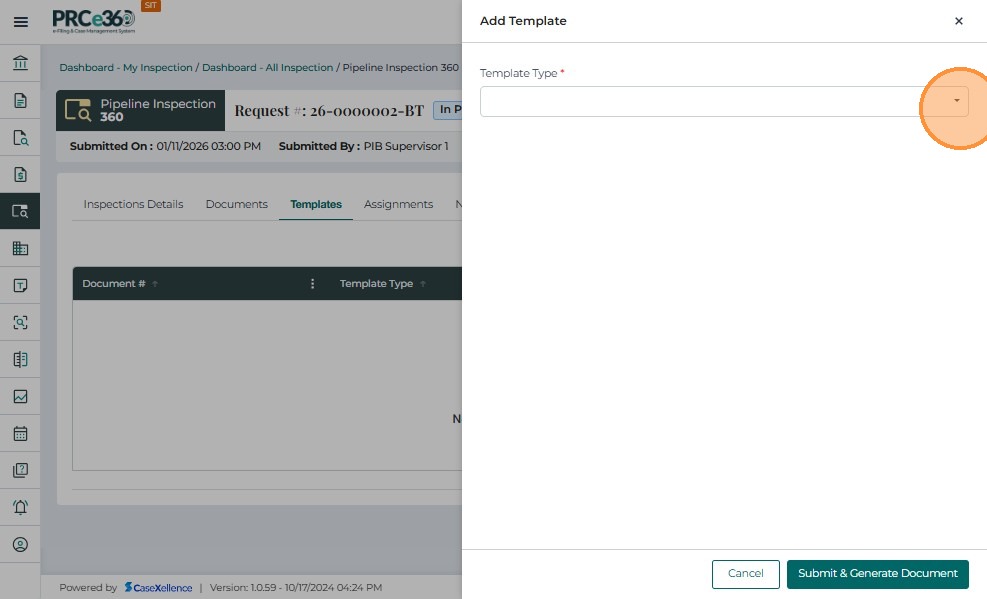

-
Click Submit & Generate Document.
-
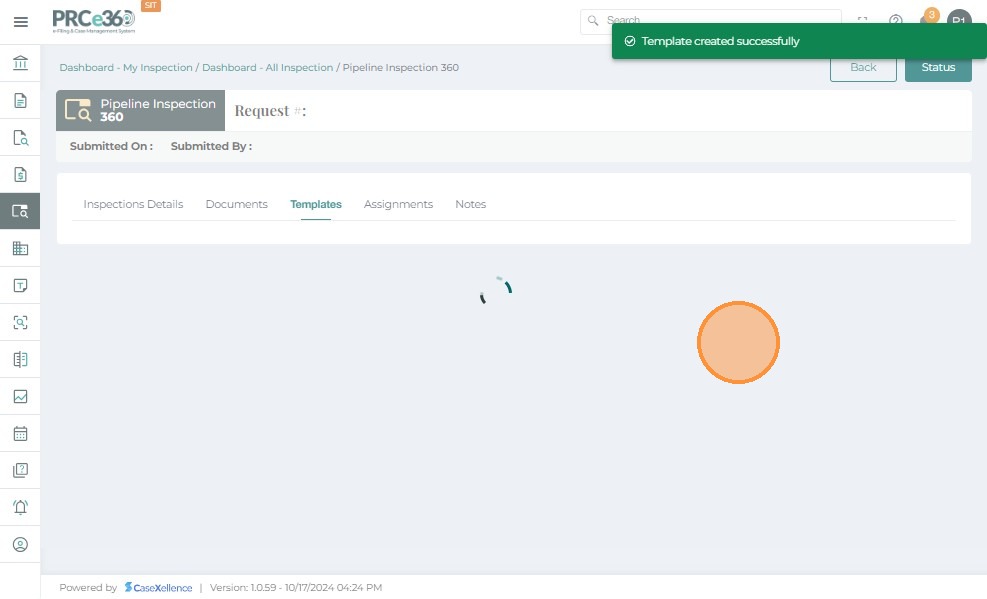
The system automatically creates the template-based document and adds it to the list.
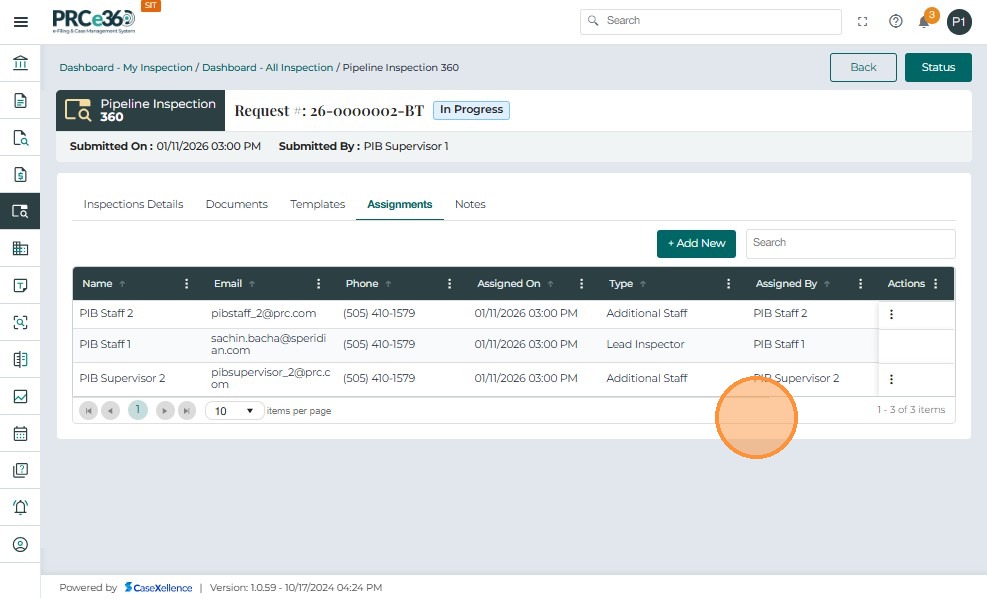
Managing Assignments
- Navigate to the Assignments tab to view all inspectors associated with the inspection.
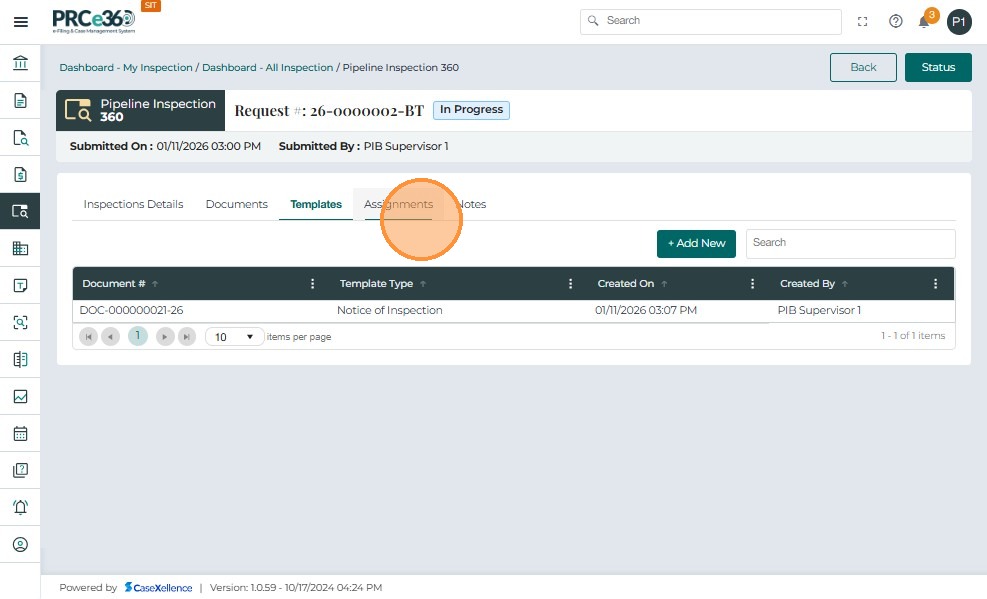
-
This section is visible to PSB Supervisors and PSB Staff assigned to the inspection.
-
The tab displays:
-
Name of assigned users
-
Email / Phone
-
Assigned On (date and time)
-
Type (Lead Inspector / Additional Staff)
-
Assigned By (user who assigned them)
-
-
Only PSB users can modify assignments.
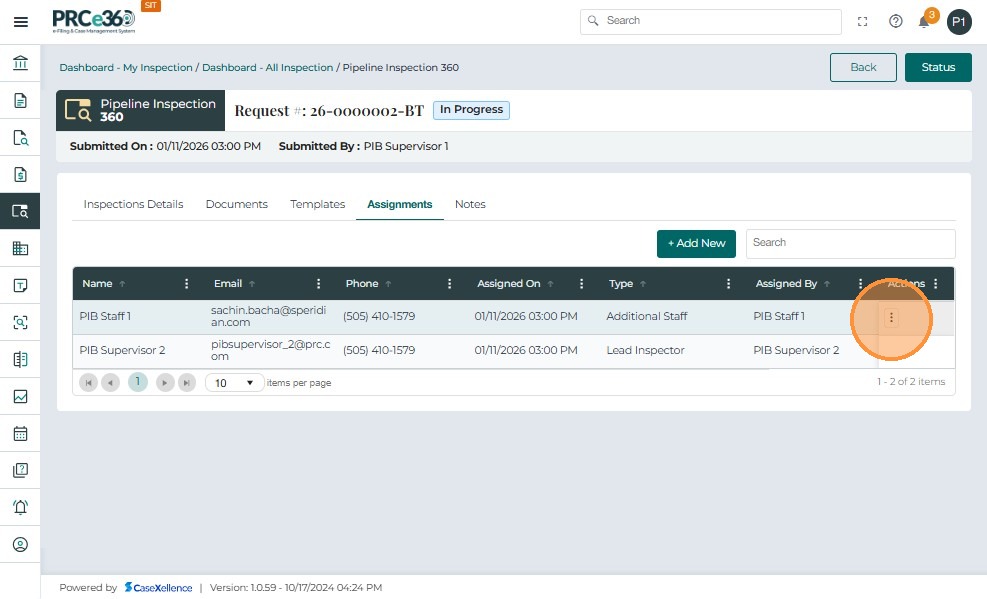
-
From the Actions menu beside each user, the PSB Supervisor can:
-
Promote as Lead Inspector – change an additional staff member to Lead Inspector.
-
Delete – remove an additional staff member from the inspection.
-
-
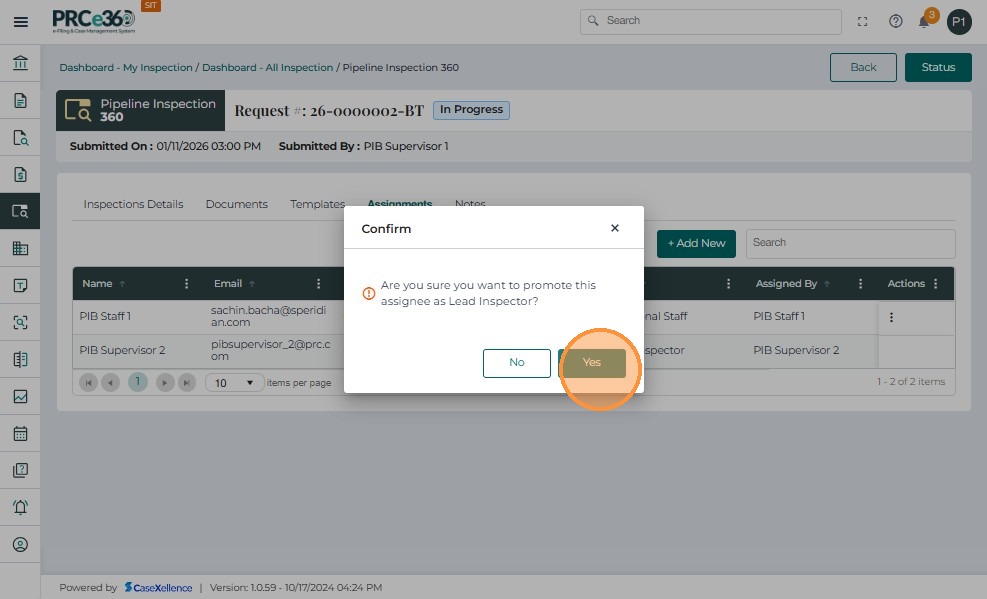
When selecting Promote as Lead Inspector, a confirmation prompt appears.
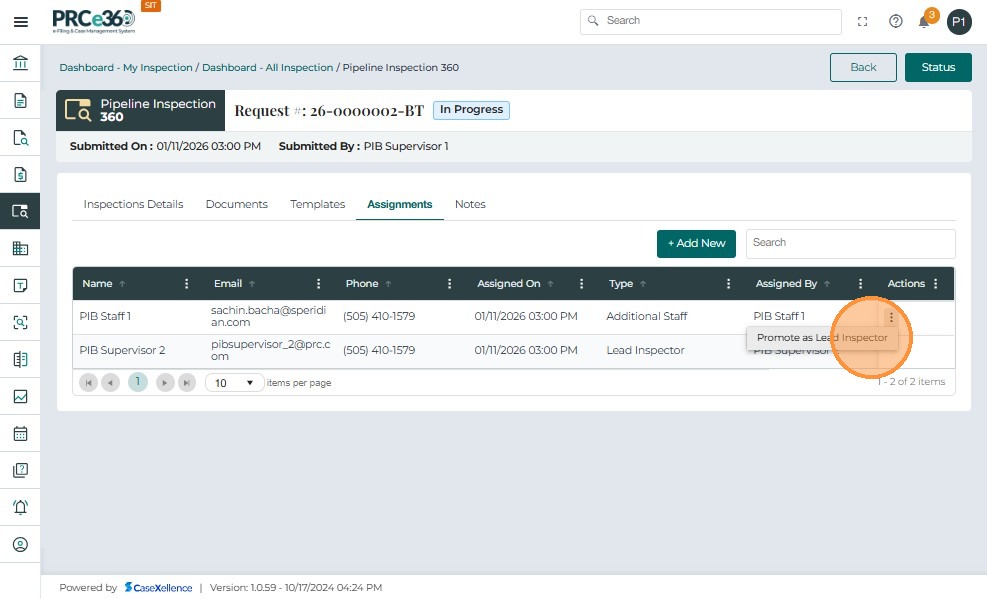
-
Click Yes to confirm the promotion of an additional staff member to Lead Inspector.
-
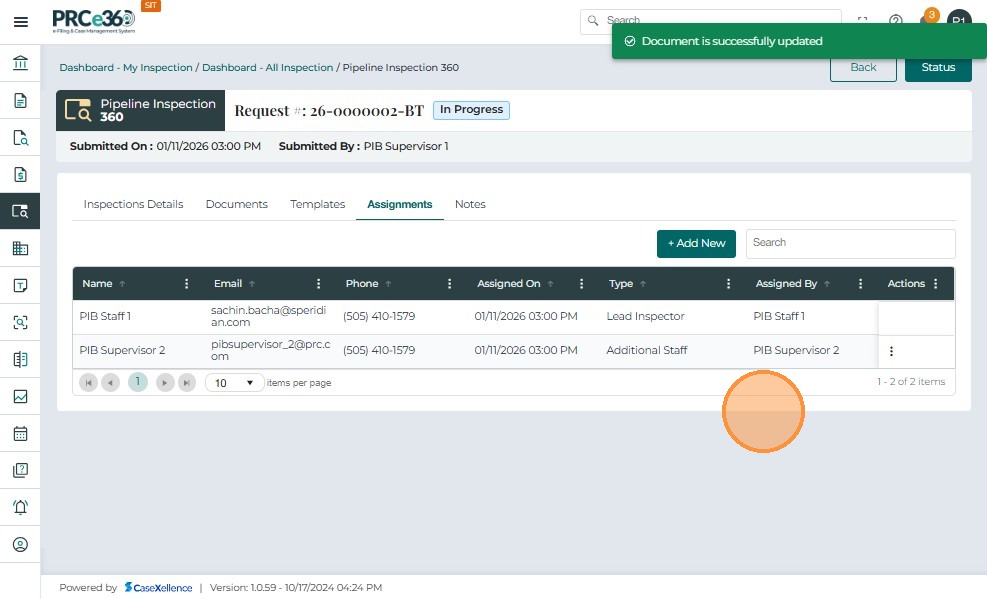
After confirmation, the system updates the assignment list accordingly.
-
A success banner appears: "Document is successfully updated."
Note: This system message refers to the updated assignment details.
-
The updated assignment list reflects the new Lead Inspector and Additional Staff configuration.
-
There can only be one Lead Inspector per inspection.
-
Additional staff can be added or removed but cannot delete or replace the Lead Inspector.
-
All changes are logged in the system with timestamps and user details.
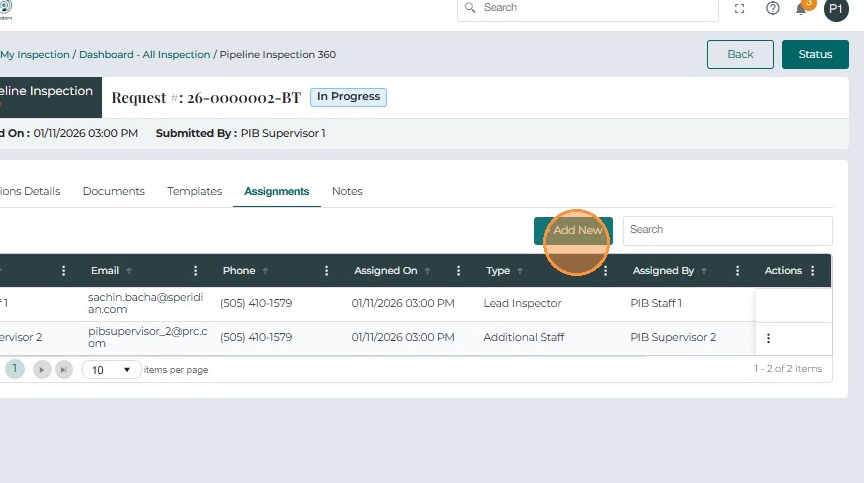
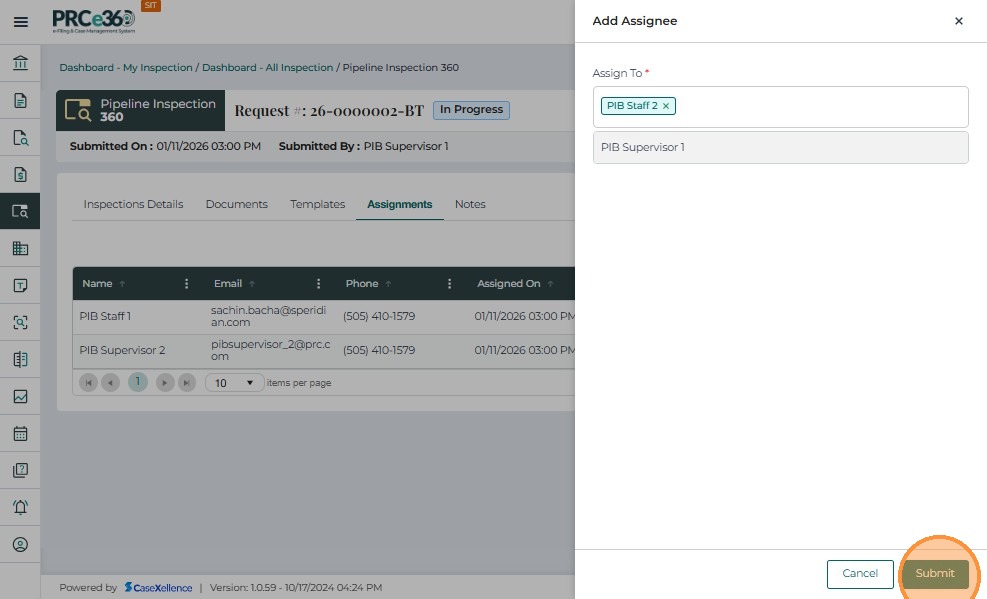
Adding New Assignments
-
From the Assignments tab, PSB Supervisors can click + Add New to assign additional inspectors to the inspection.
-
This feature allows the Supervisor to include other PSB Supervisors or PSB Staff as supporting team members.
-
Only PSB Supervisors and assigned PSB Staff have permission to add or modify assignments.
-
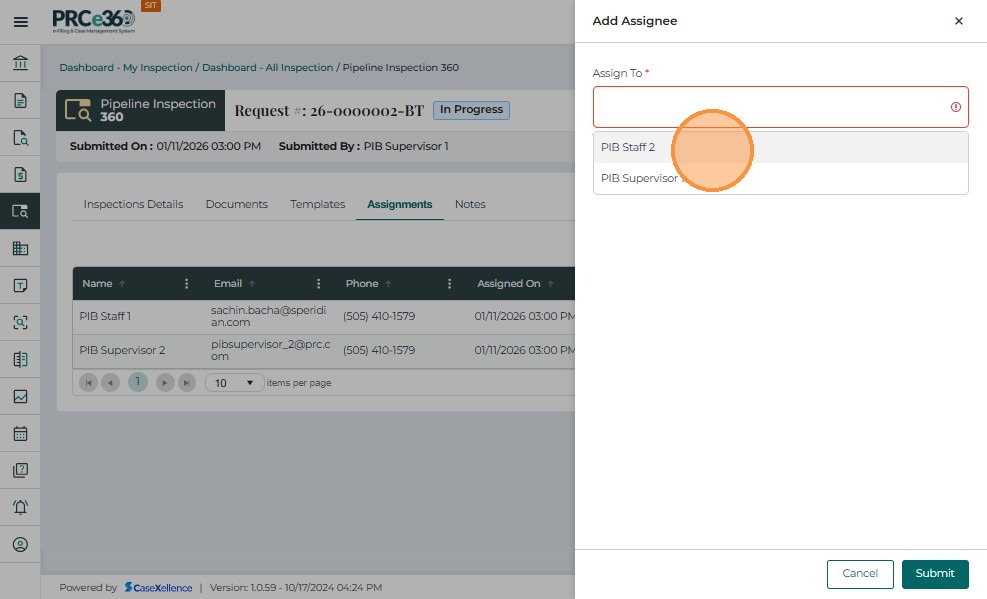
In the pop-up window, the PSB Supervisor selects a user from the Assign To dropdown and clicks Submit.
-
The system automatically adds the selected user as Additional Staff for this inspection.
-
Multiple additional staff members can be added.
-
Added members appear in the list with details such as Name, Email, Assigned On, and Assigned By.
-
Each assigned user receives an in-system notification upon assignment.
-
Additional staff can later be promoted to Lead Inspector if needed, but there can only be one lead at a time
- After completing inspection activities or updates, users can securely log out of the system.
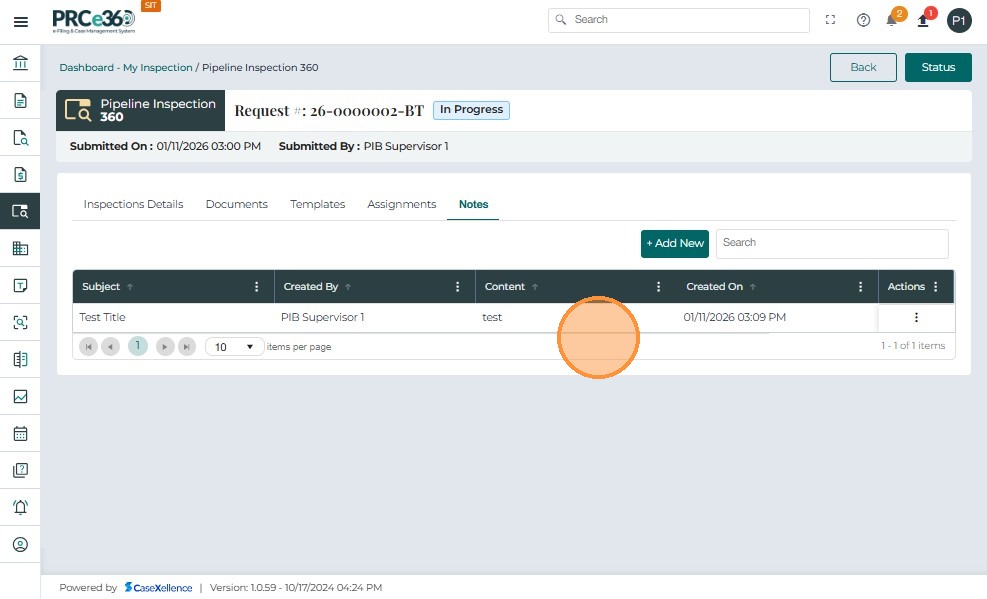
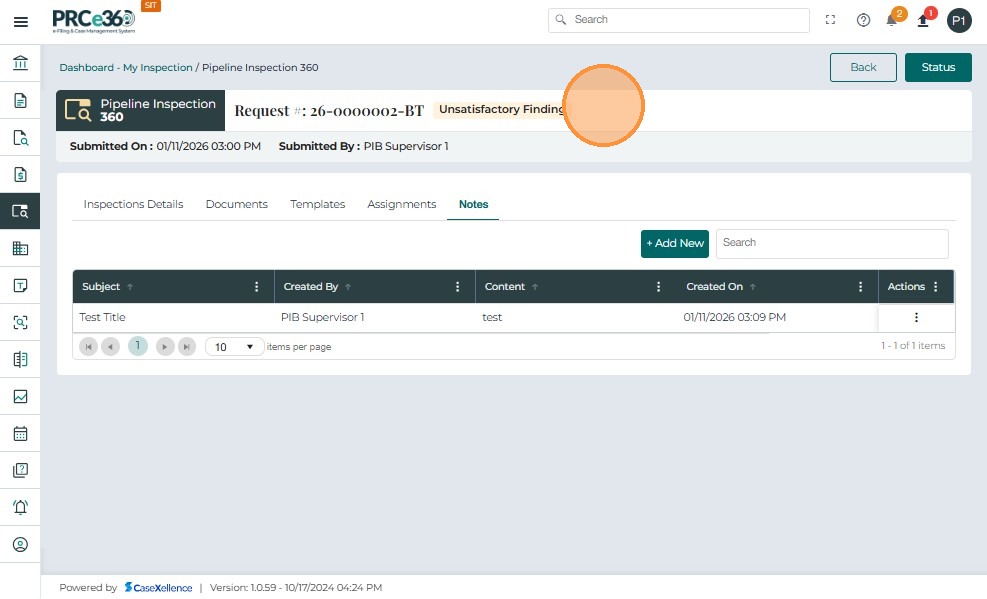
Adding Notes.
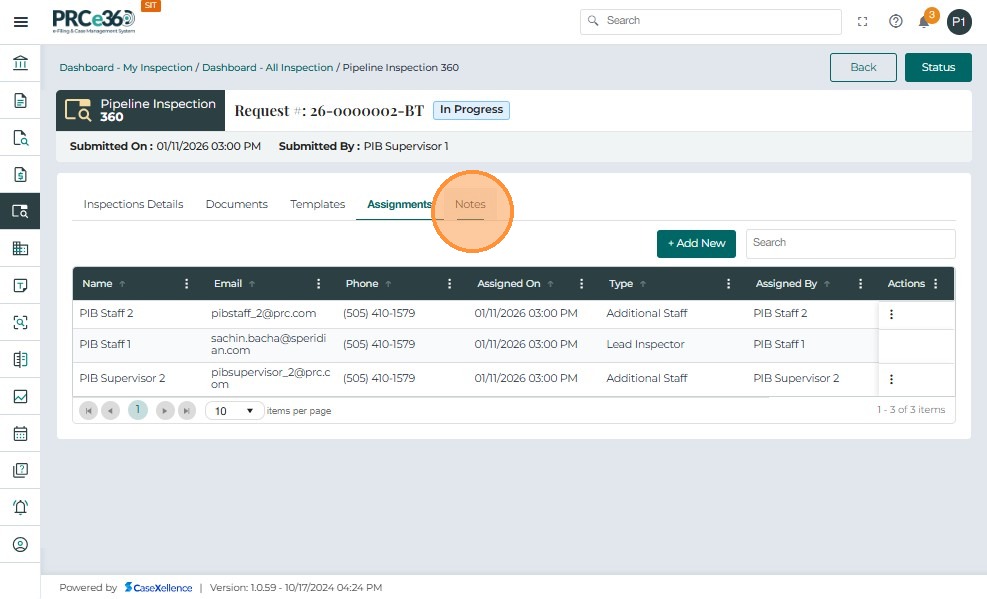
- Navigate to Notes to view and manage notes added to the inspection.
-
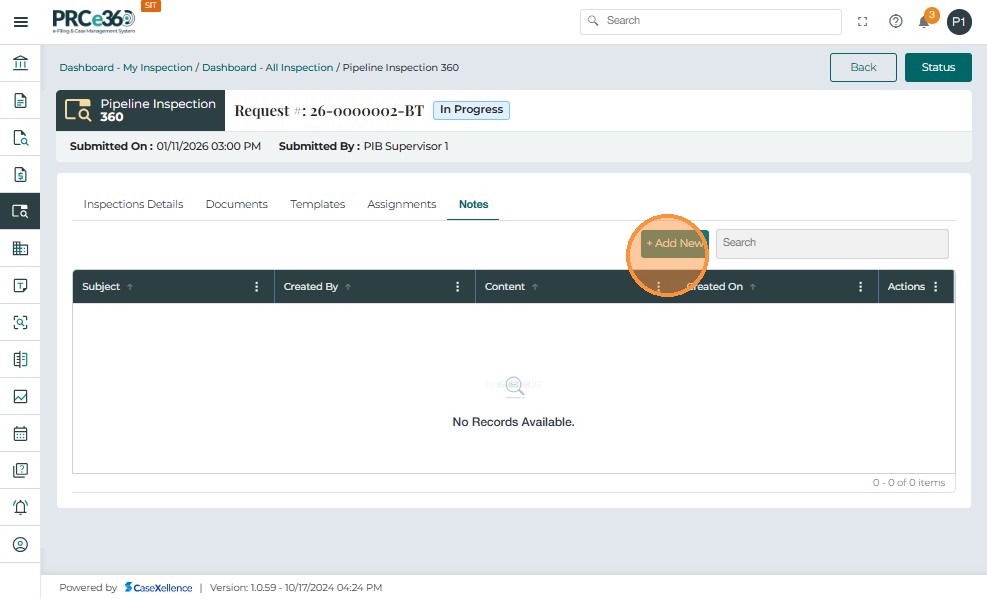
The Notes tab displays a table with columns for Subject, Created By, Content, Created On, and Actions when no notes exist.
-
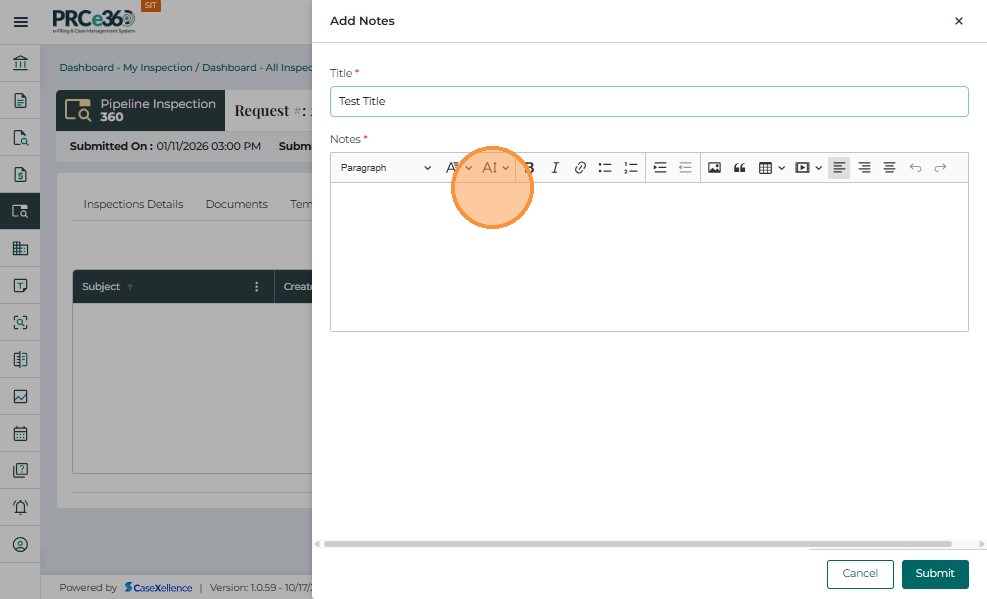
Click + Add New to open the Add Notes window
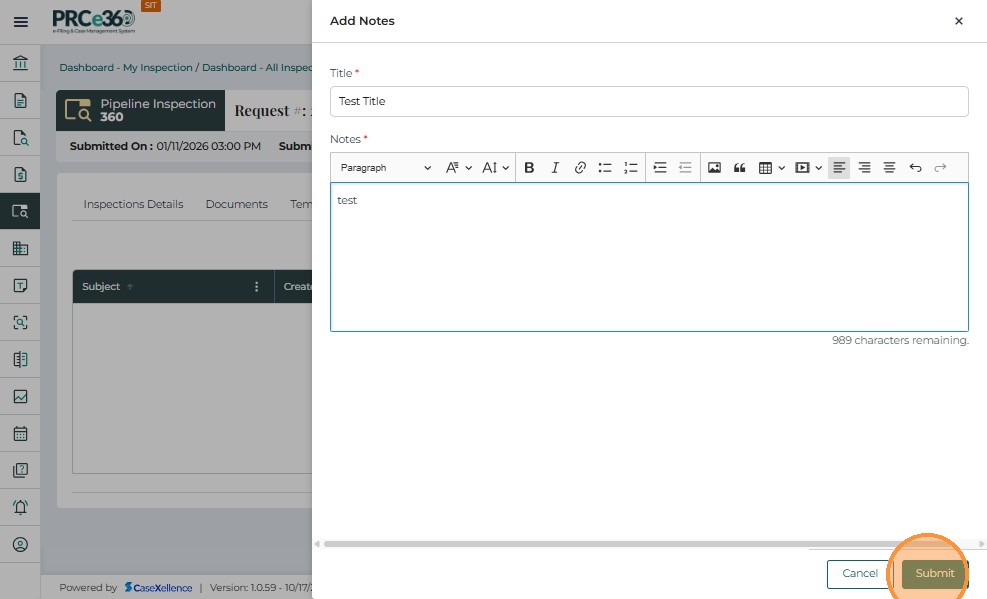
- Enter a Title and add note content using the text editor.
- Type the required note details and click Submit to save the note.
- A confirmation message appears indicating the note was added successfully.
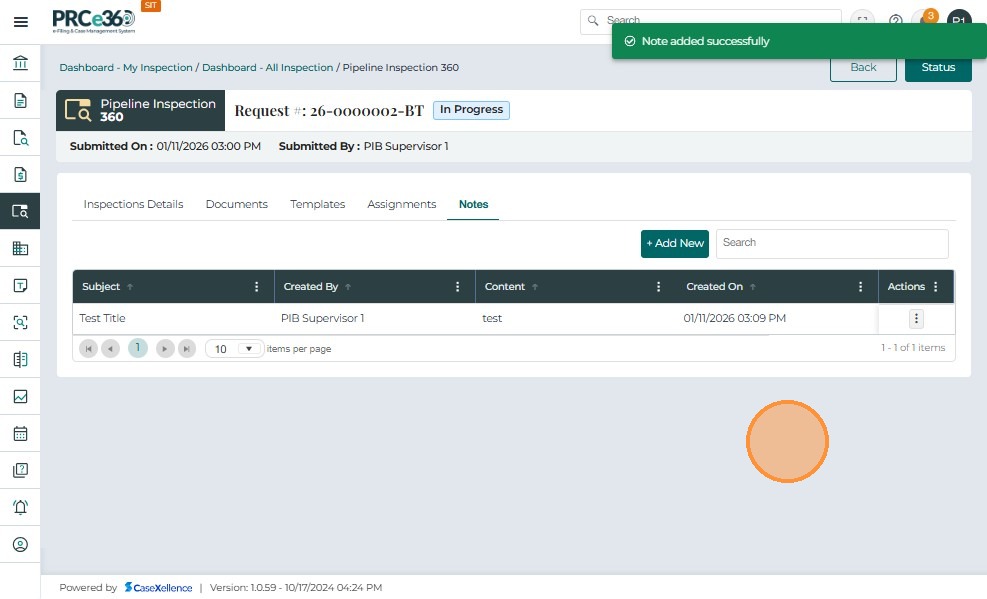
- The newly added note appears in the Notes table with its subject, creator, content preview, and creation date.
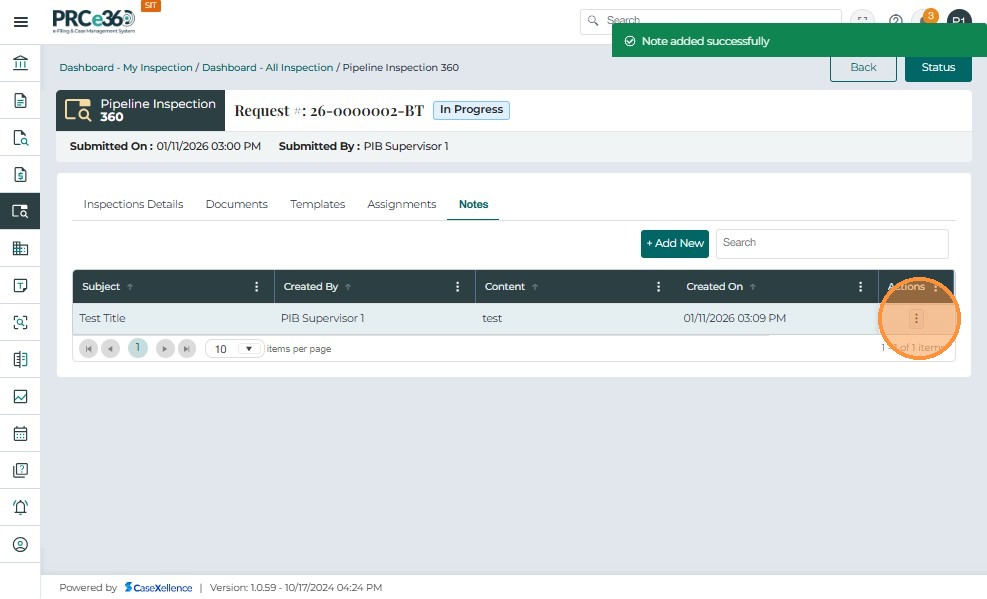
- Use the Actions (⋮) menu to view the note details.
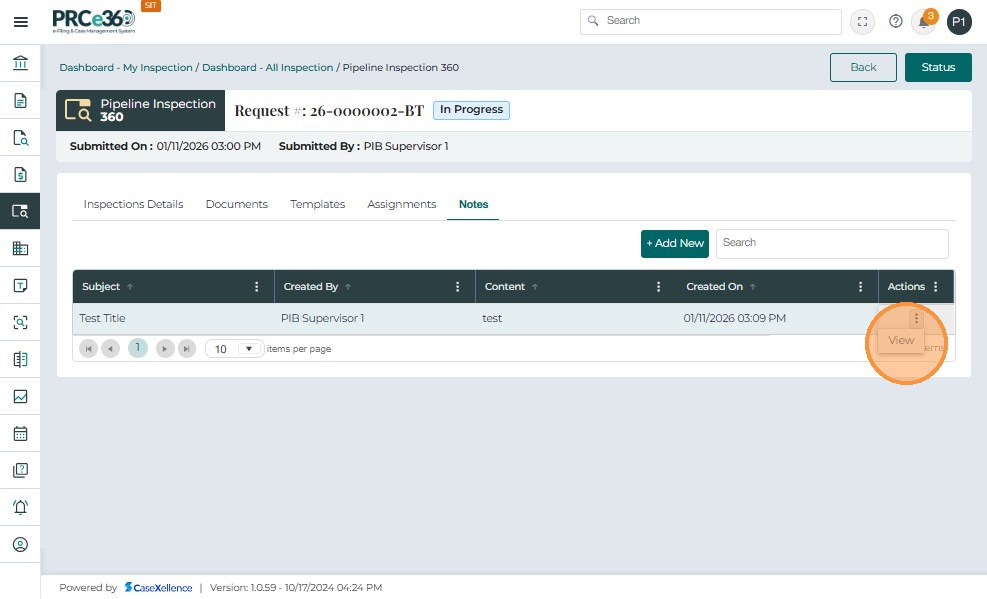
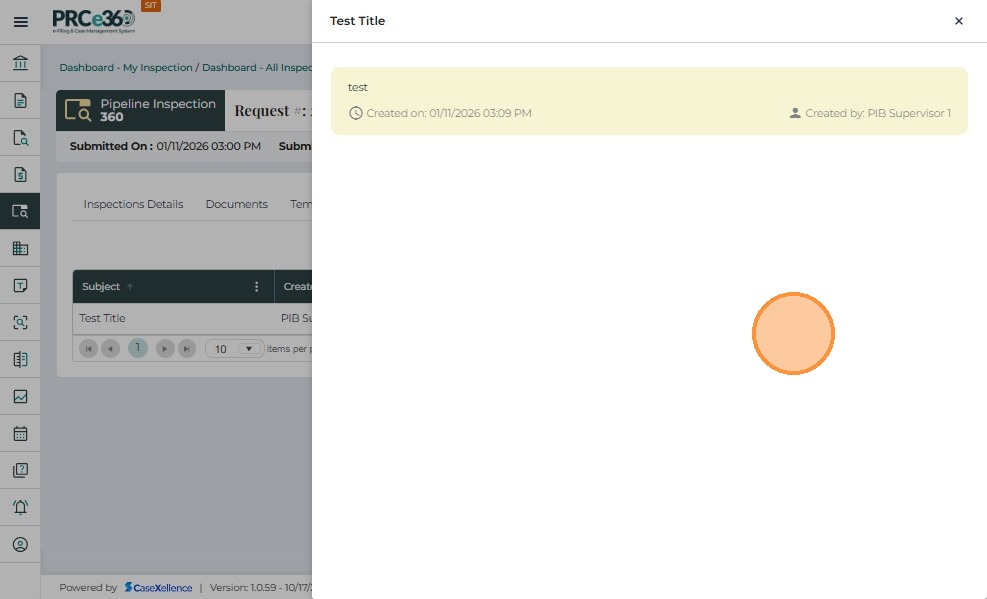
- Selecting View opens the note in read-only mode showing full content, created date, and author.
PSB Staff – Accessing Assigned Inspections
-
PSB Staff log in using their credentials.
-
Enter your username or email (for example,
psbstaff_1@prc.com) and password, then click Sign In to access the system.

- Once logged in, PSB Staff can access their assigned inspections by selecting Pipeline Inspection from the left-hand menu.
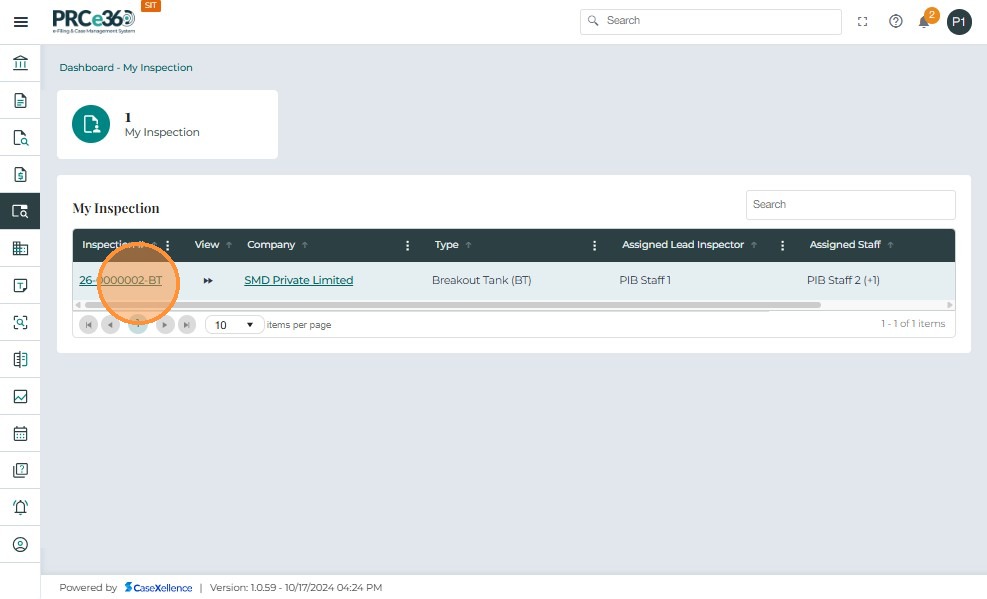
After opening the Pipeline Inspection module, PSB Staff can view their assigned inspections under the My Inspection section.
-
This view lists all inspections assigned specifically to the logged-in staff member.
-
The table displays the following columns:
| Field | Description |
|---|---|
| Inspection # | Displays the unique inspection ID. Click to open details. |
| Company | Displays the company name linked to the inspection. |
| Type | Indicates the inspection category (e.g., Breakout Tank, OQ, IMP). |
| Assigned Lead Inspector | Displays the Lead Inspector's name for the inspection. |
Viewing Inspection Details (PSB Staff)
When a PSB Staff user clicks an assigned Inspection ID from the My Inspection dashboard, the system opens the Pipeline Inspection 360 view.
The inspection details are displayed under three main tabs:
-
Inspection Details
-
Documents
-
Assignments
The top of the screen shows:
-
Inspection Request Number (e.g., 25-0000003-BT)
-
Status – current progress (e.g., In Progress)
-
Submitted On – creation date and time
-
Submitted By – PSB Supervisor who initiated the inspection
Under the Inspection Details tab, users can view company and inspection-related data:
| Field | Description |
|---|---|
| Company Type | Displays the type of pipeline company (Hazardous Liquids or Natural Gas). |
| Company Sub Type | Shows the selected subtype (e.g., CO₂, Gathering, Transmission). |
| Company Name | Displays the company associated with the inspection (non-editable). |
| Company Operator ID | Auto-filled from the company profile (non-editable). |
| Inspection Type | Displays the type of inspection (e.g., Breakout Tank (BT)). |
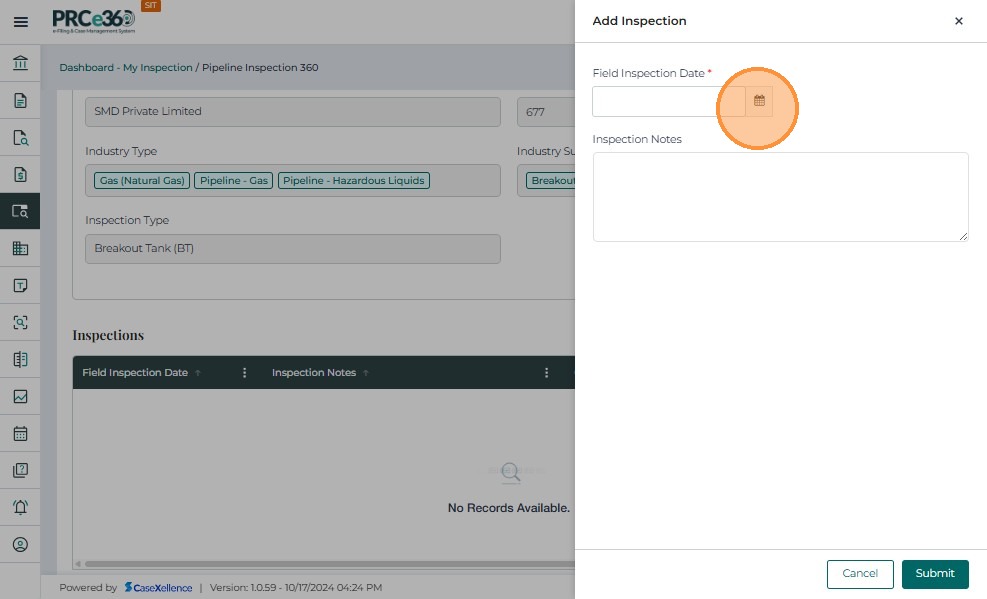
Adding Field Inspection and Re-Inspection
-
In the Inspection Details tab, scroll down to the Inspections section.
-
Click + Add New to log a new field inspection or re-inspection entry.
-
This option is available to assigned PSB Staff.

-
The Add Re-Inspection form appears.
-
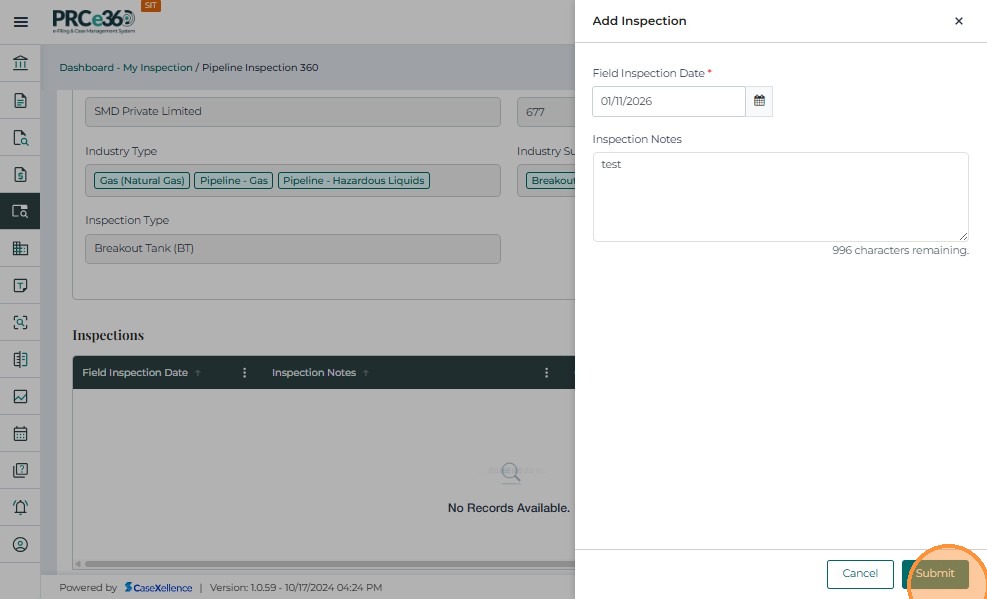
Users must enter the following required details:
-
Field Inspection Date
-
Inspection Notes
-
-
These entries record on-site inspection activity and are linked to the inspection record.
-
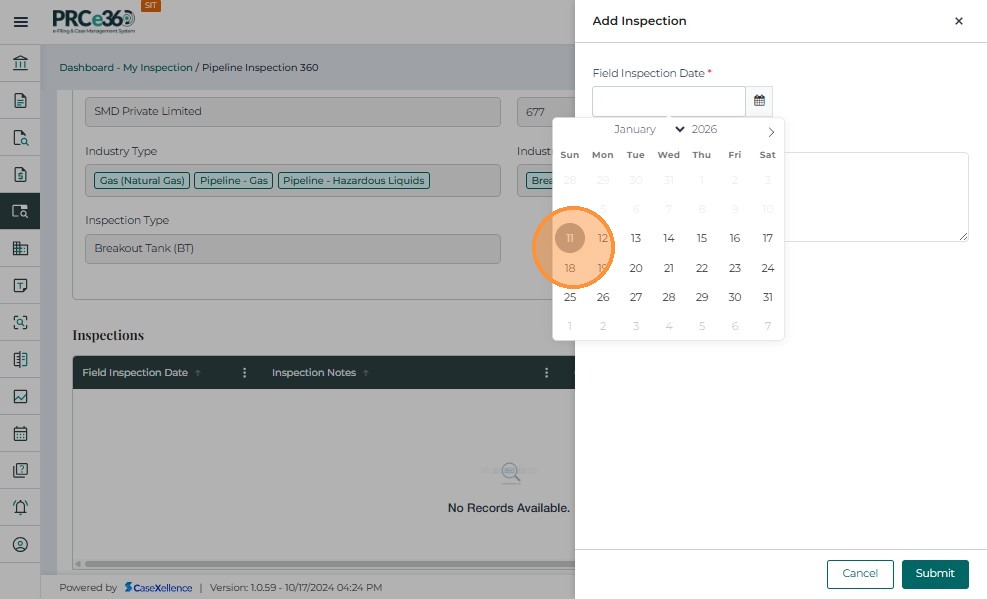
Use the calendar picker to choose the inspection date, then select the time using the time (clock) field.
-
This ensures the inspection schedule is recorded accurately in the system.
-
After entering all required details, click Submit.
-
Each submission creates a new calendar event in the system linked to the Inspection ID and Company.
-
A confirmation banner appears: "Re-inspection was added successfully."
-
The newly created entry is saved under the Inspections table with its date, time, and notes.
-
Users can repeat this process to log multiple re-inspections for the same inspection record.
-
All scheduled events are displayed in the system calendar.
-
Assigned users receive reminders one business day before the scheduled inspection.
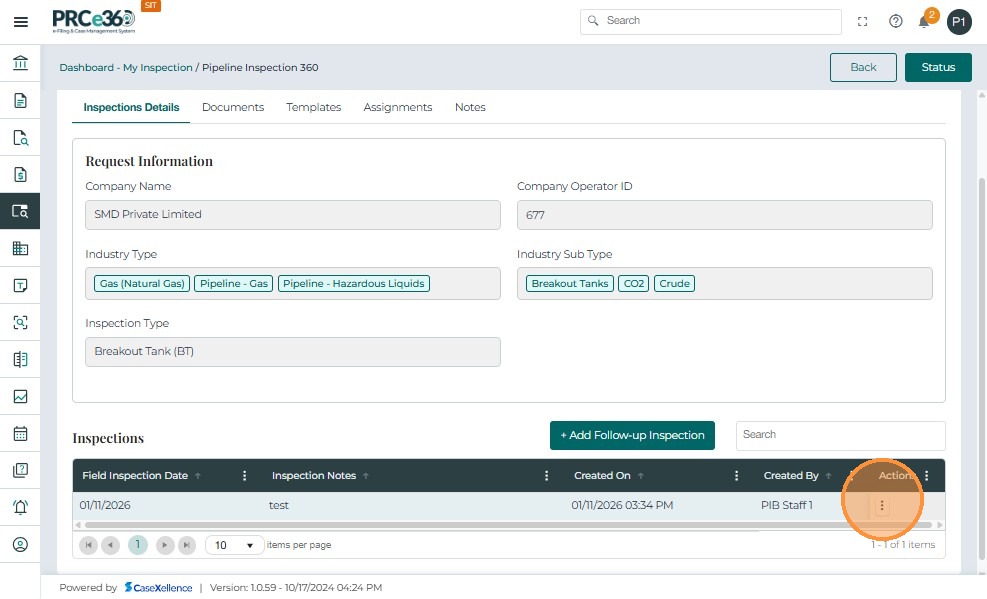
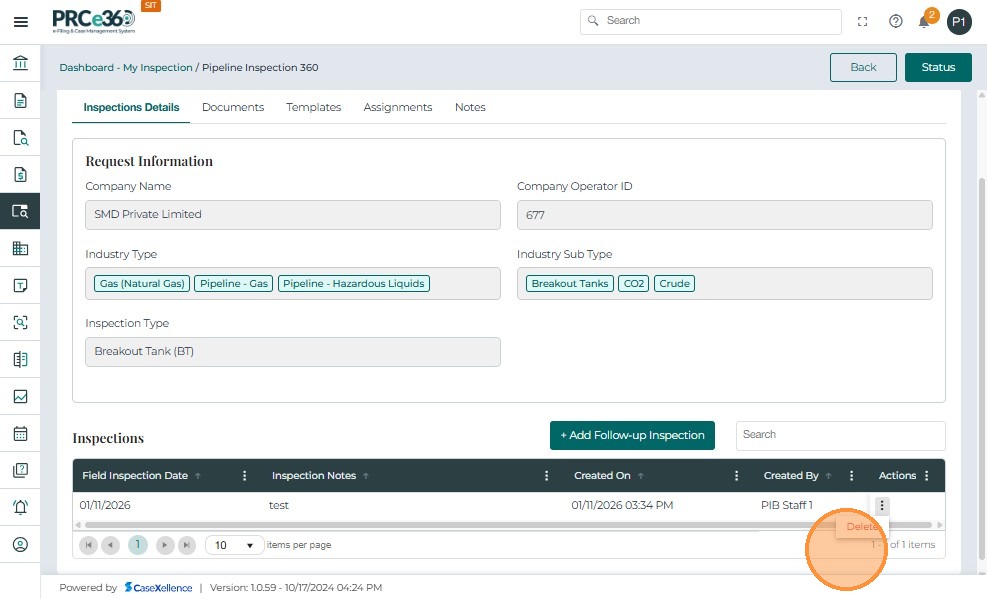
- If the user wants to delete the inspection, it can be deleted using the Delete option in Actions button.
Uploading and Managing Documents (PSB Staff)
In the Pipeline Inspection 360 screen, navigate to the Documents tab to view or upload files related to the inspection.
This section lists all internal inspection-related documents uploaded by assigned users.
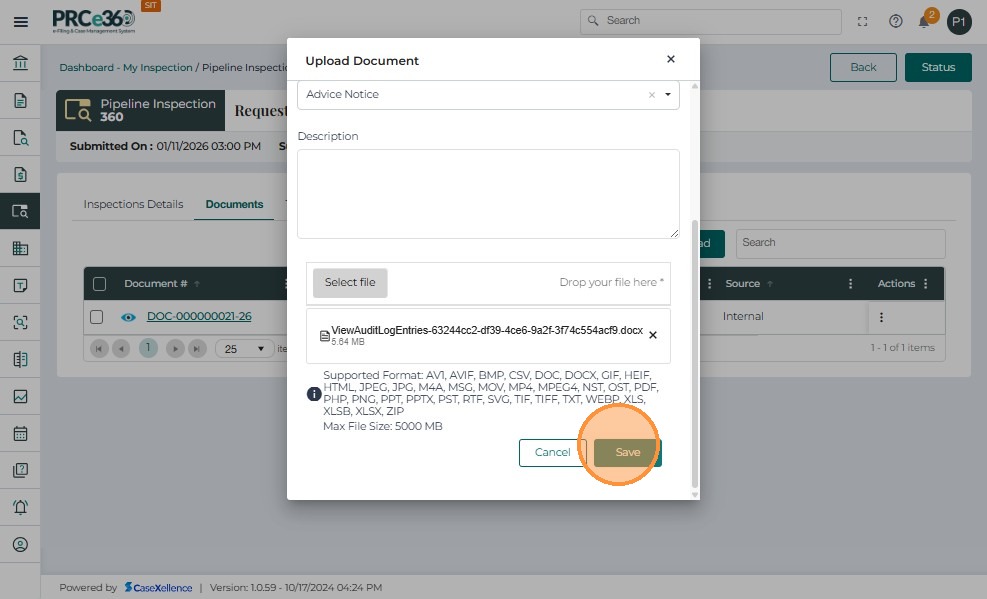
- Click the Upload button to add a new file.
- The Upload Document window appears, prompting the user to enter the following fields:
| Field | Description |
|---|---|
| Document Title | Enter the document name (e.g., Inspection Notes, Report File). |
| Document Type | Select the appropriate type from the dropdown (e.g., Report, Checklist, Supporting File). |
| Storage Site (Optional) | Indicate the document storage site, if applicable. |
| Description | Add a brief summary or note about the document's purpose or content. |

-
Choose the file by clicking Select file or by dragging and dropping it into the upload box.
-
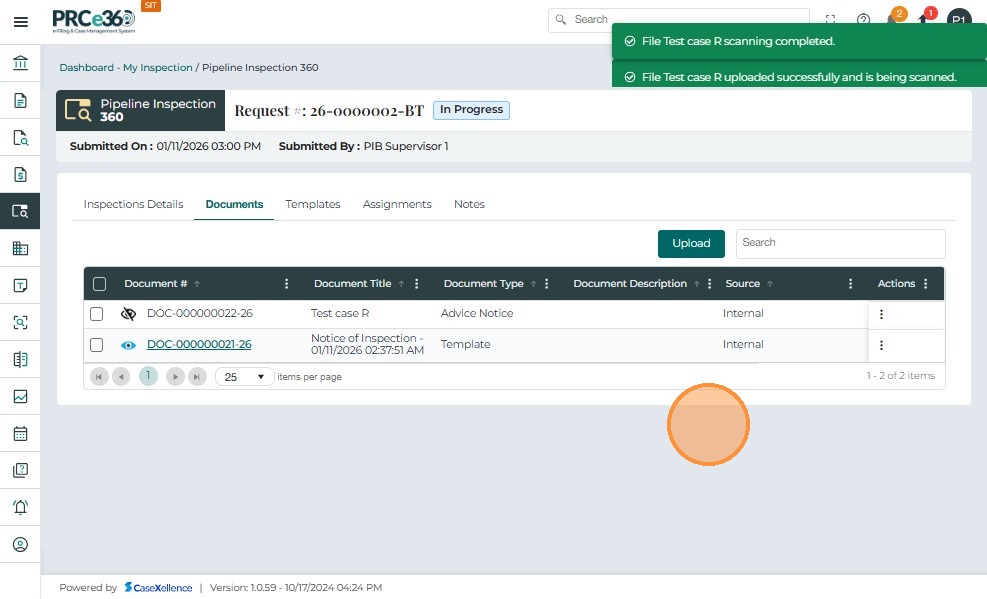
Once the file appears in the list, click Save to upload it.
-
Uploaded documents are stored internally and linked to the inspection record.
-
The options Request Public Filing and File Now are not visible for PSB users in this module, ensuring internal-only file management.
-
After saving, the uploaded document appears in the Documents table with the following columns:
-
Document #
-
Document Title
-
Document Type
-
Document Description
-
Actions
-
-
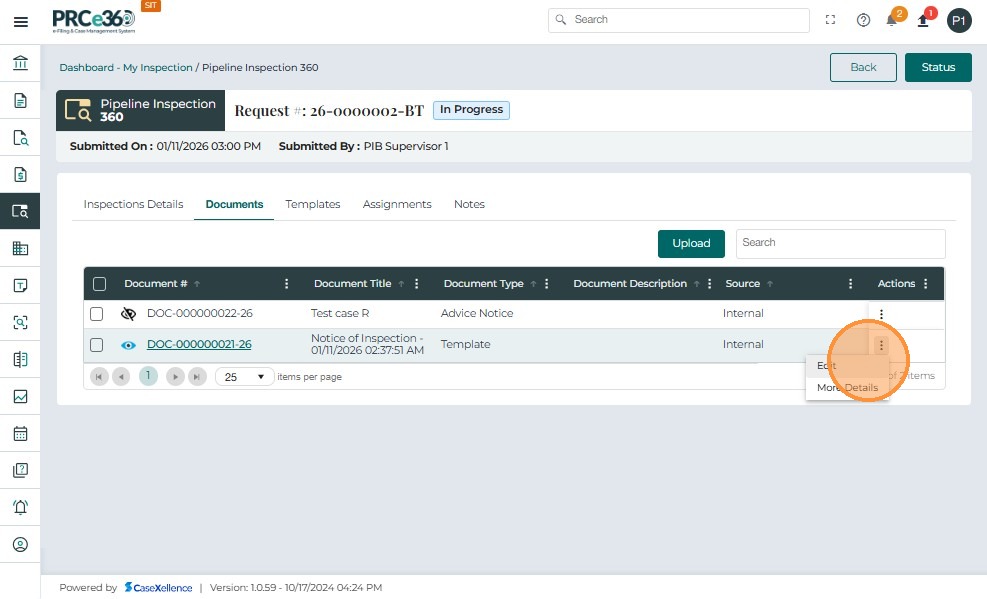
After a document has been uploaded, users can update its details if necessary.
-
Click on the Actions icon next to the document and select Edit.
-
To review full document metadata, select More Details from the Actions menu.
-
If a file was uploaded in error, it can be deleted by selecting Remove from the Actions menu.
Template Tab.
All templates generated for the inspection works the same way as in the PSB user view.
| Column | Description |
|---|---|
| Document # | Displays the auto-generated document number associated with the template. |
| Template Type | Shows the selected template type used to generate the document. |
| Created On | Indicates the date and time the template document was generated. |
| Created By | Shows the user who generated the template document. |
| Actions | Provides options to view, download, or perform available actions on the generated template (same functionality as PSB users). |
Viewing Assignments (PSB Staff)
In the Pipeline Inspection 360 view, navigate to the Assignments tab to view the list of users assigned to the inspection.
This tab displays details of all team members associated with the inspection, including their role and assignment information.
| Field | Description |
|---|---|
| Name | Displays the assigned user's name. |
| Email / Phone | Contact details of the assigned inspector. |
| Assigned On | Date and time of assignment. |
| Type | Defines the user's role (Lead Inspector / Additional Staff). |
| Assigned By | Displays who assigned the user. |
| Actions | Provides additional options. |
-
Assigned PSB users can add, modify, or remove assignments using Actions and the + Add New button.
-
Only one Lead Inspector can exist per inspection, while multiple Additional Staff users can be assigned.
Notes tab
- Navigate to Notes to view and manage notes added to the inspection.
Updating Inspection Status
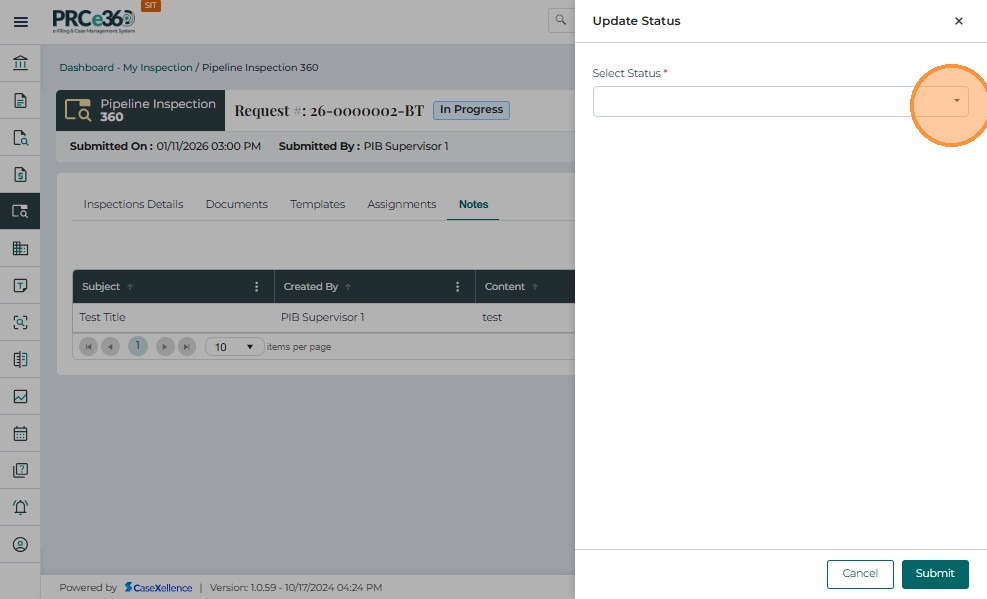
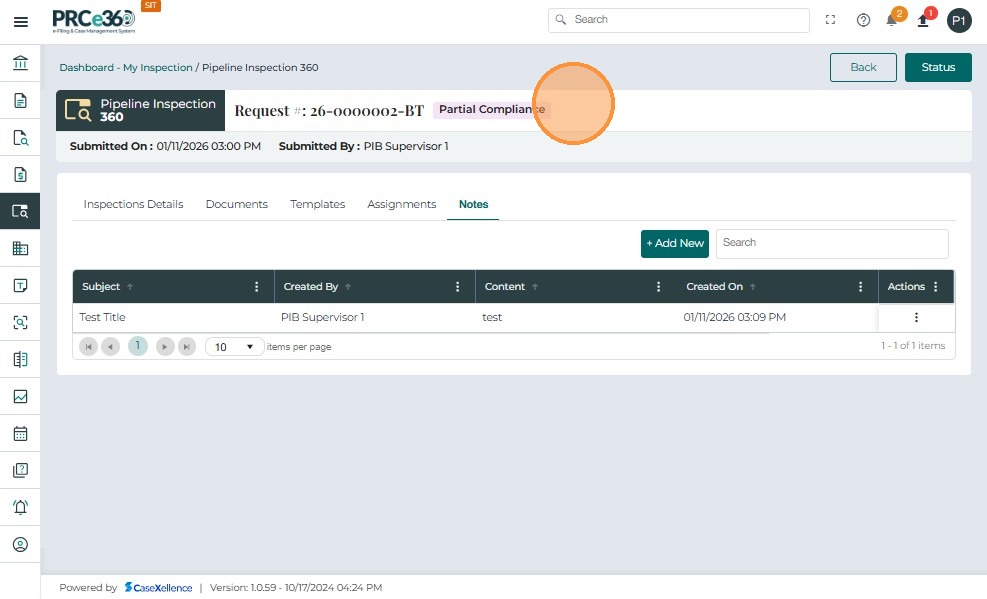
In the Pipeline Inspection 360 screen, click the Status button located in the top-right corner to update the inspection's progress.
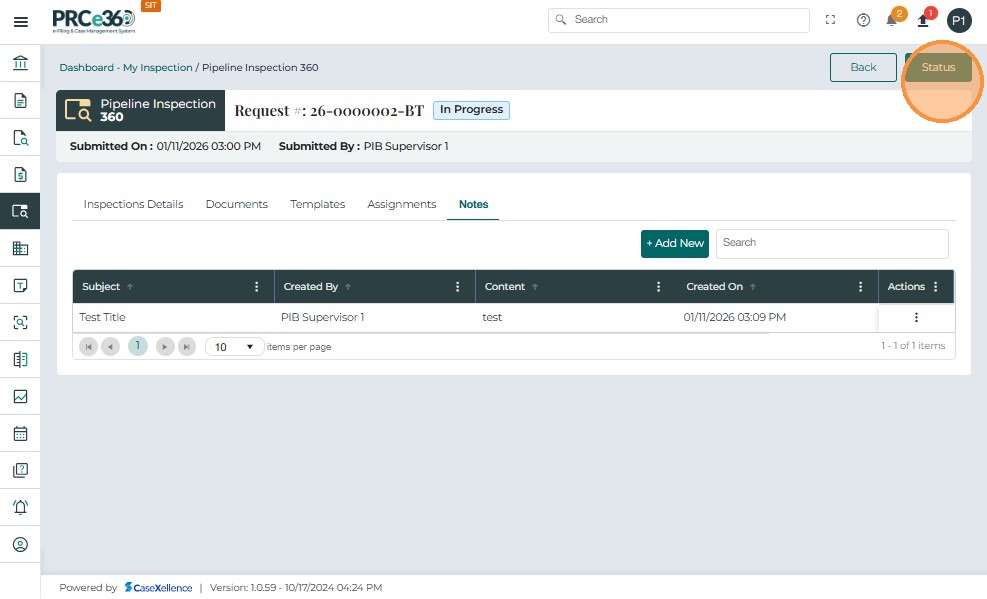
-
A pop-up window titled Update Status appears.
-
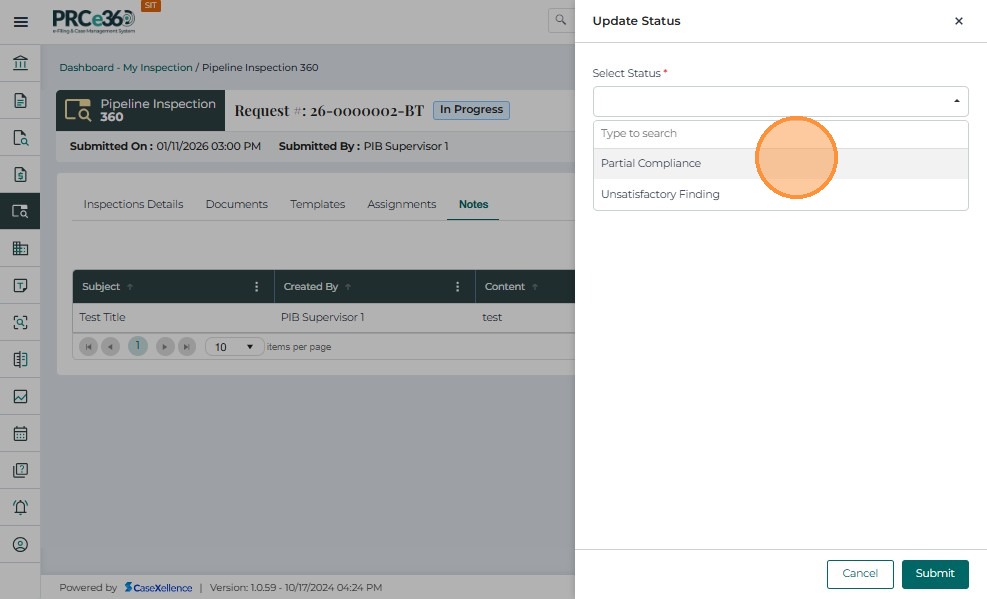
From the Select Status dropdown, choose the appropriate inspection status.
-
The available status options for PSB Staff or assigned users are:
| Status | Description |
|---|---|
| Partial Compliance | Selected when the inspection reveals that some compliance areas are met while others require additional review or corrective actions. |
| Unsatisfactory Finding | Used when the inspection results indicate non-compliance or issues that require major correction or follow-up action. |
-
Only one status can be active at a time.
-
Once updated, the status is displayed prominently at the top of the inspection record.
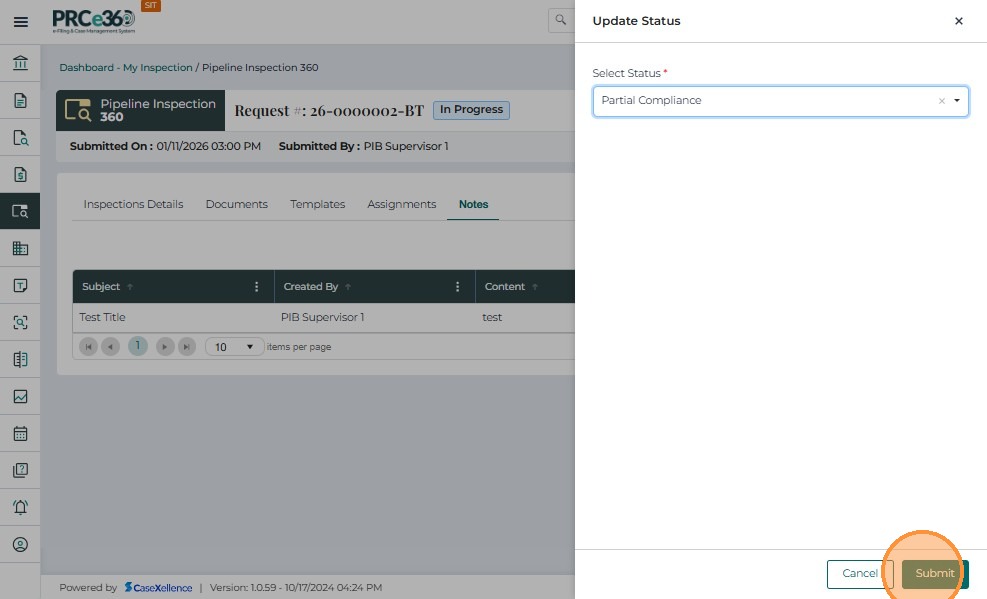
- From the Update Status popup, the user can choose Partial Compliance from the dropdown list.
-
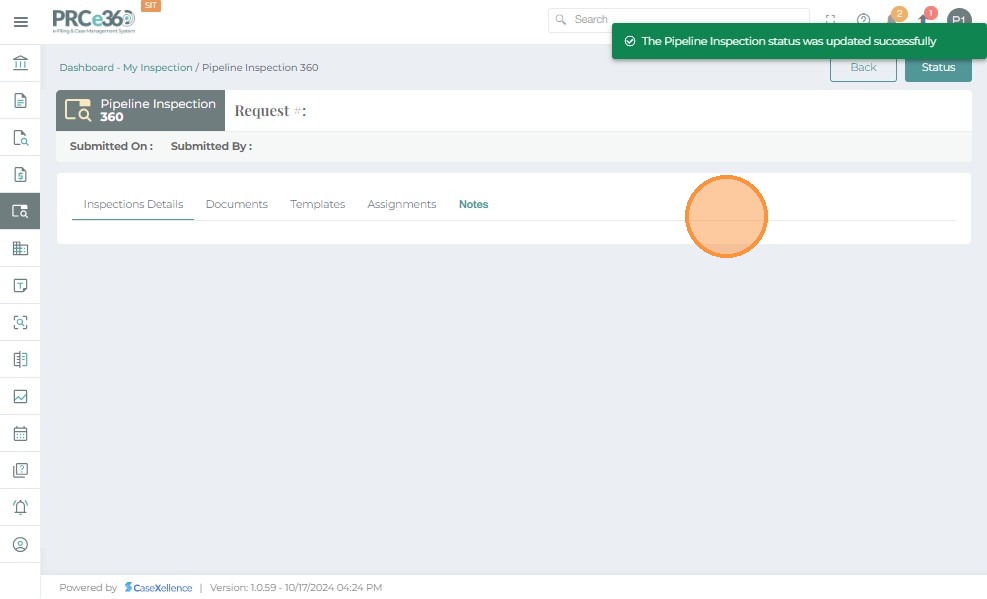
A confirmation message appears at the top: "The Pipeline Inspection status was updated successfully."
-
The new status (for example, Partial Compliance) is displayed beside the Request Number.
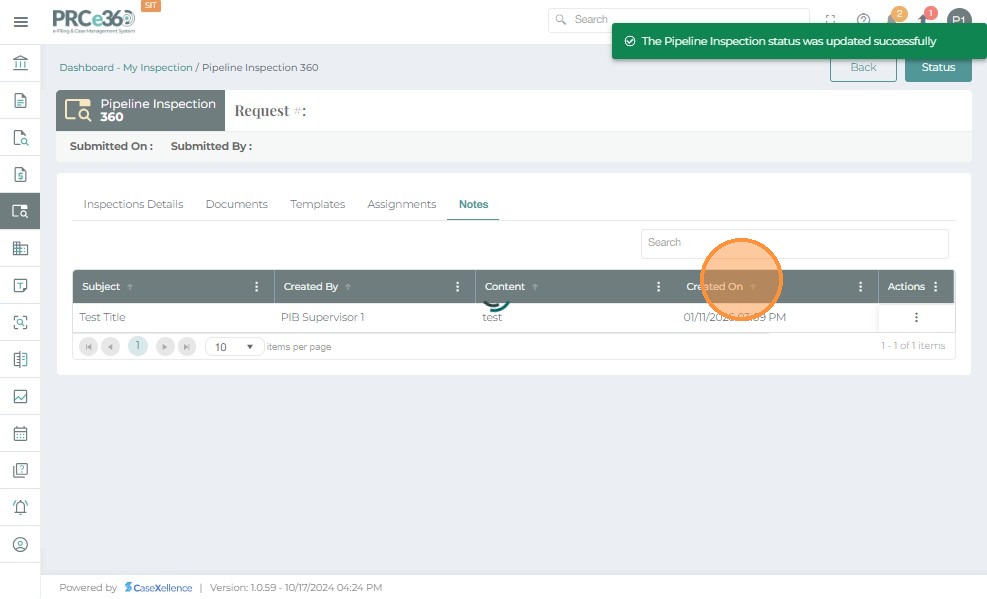
The inspection's updated status is now visible in the header section of the record for all assigned users.
-
PSB Staff and Supervisors can see the updated status from their dashboards and inspection lists.
-
Status changes are tracked in the system for audit and history purposes.
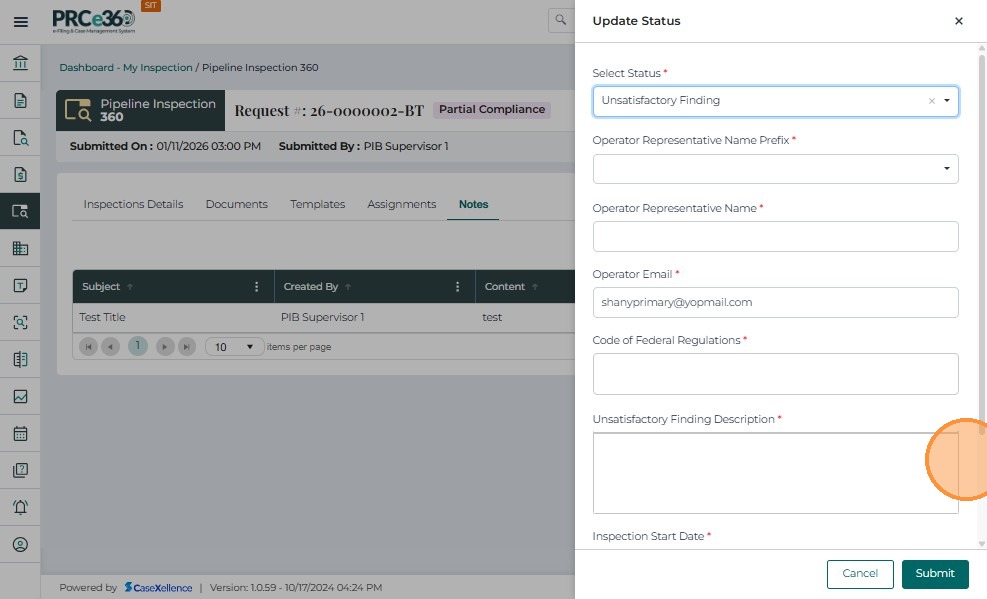
- From the Update Status popup, the PSB Supervisor can choose Unsatisfactory Finding from the dropdown list.
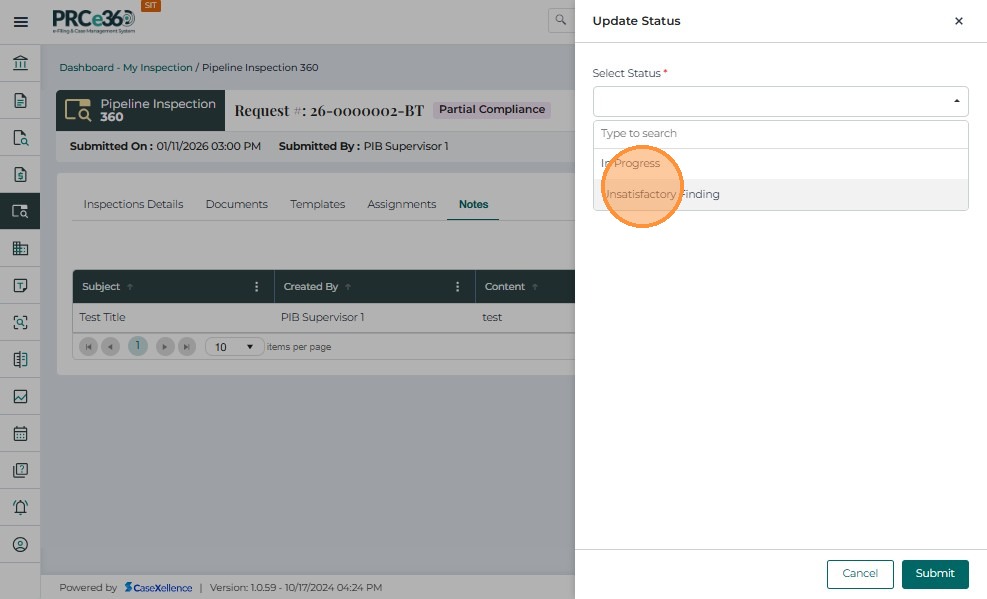
- When Unsatisfactory Finding is selected, the system prompts for additional details:
| Field | Description |
|---|---|
| Unsatisfactory Finding Description | Required text field to specify the issue, findings, or observations that led to the non-compliance. |
| Inspection End Date | Required date field indicating when the inspection was completed or recorded. |
-
After entering all details, click Submit to save the changes.
-
If the user does not want to save the changes, click Cancel to return to the main screen.
-
Both fields are mandatory before submission.
-
The end date cannot be set earlier than the inspection's creation date.

-
A success banner appears at the top: "The Pipeline Inspection status was updated successfully."
-
This confirms that the inspection outcome has been recorded.
-
Once updated, the Unsatisfactory Finding status is displayed prominently in the header of the Pipeline Inspection 360 page.
-
The updated status is visible to all assigned PSB users.
-
The inspection record remains open for review, document uploads, or reassignment if required.
-
PSB Supervisors can later transition this inspection to Closed once the issues are resolved and appropriate actions are completed.
PSB Supervisor: Accessing and Managing Pipeline Inspections
- The PSB Supervisor logs in using valid credentials to review, manage, and close ongoing inspections.
-
From the Pipeline Inspection Dashboard, the Supervisor can view all inspections under All Inspection and those assigned specifically under My Inspection.
-
To open an inspection, click the Inspection Number (e.g., 25-0000003-BT).
-
This opens the Pipeline Inspection 360 page, where the Supervisor can review inspection details, uploaded documents, assignments, and update the status.
Closing a Pipeline Inspection
-
Once all inspection activities, findings, and documents are completed, the PSB Supervisor can close the inspection.
-
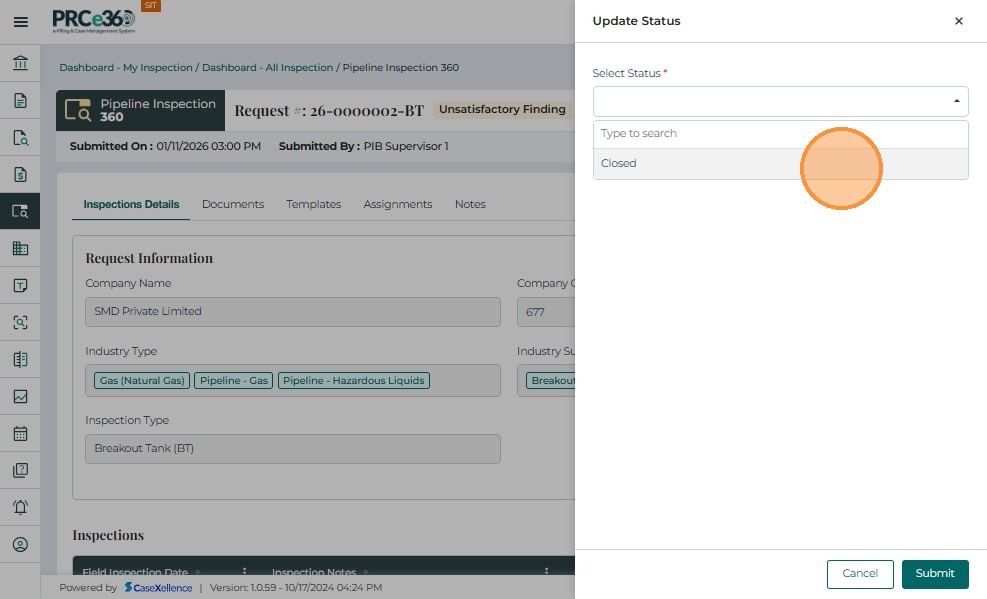
Click the Status button in the top-right corner of the Pipeline Inspection 360 page.
-
Only Supervisors have access to change the inspection status to Closed or set it back to In Progress if needed.
-
From the Select Status dropdown, choose Closed.
-
This action indicates that the inspection process has been completed, reviewed, and all compliance or corrective actions are finalized.
| Status | Users | Purpose |
|---|---|---|
| Closed | PSB Supervisors | Final stage; inspection is locked and archived. |
- PSB Supervisors can finalize an inspection by changing the status to Closed.

-
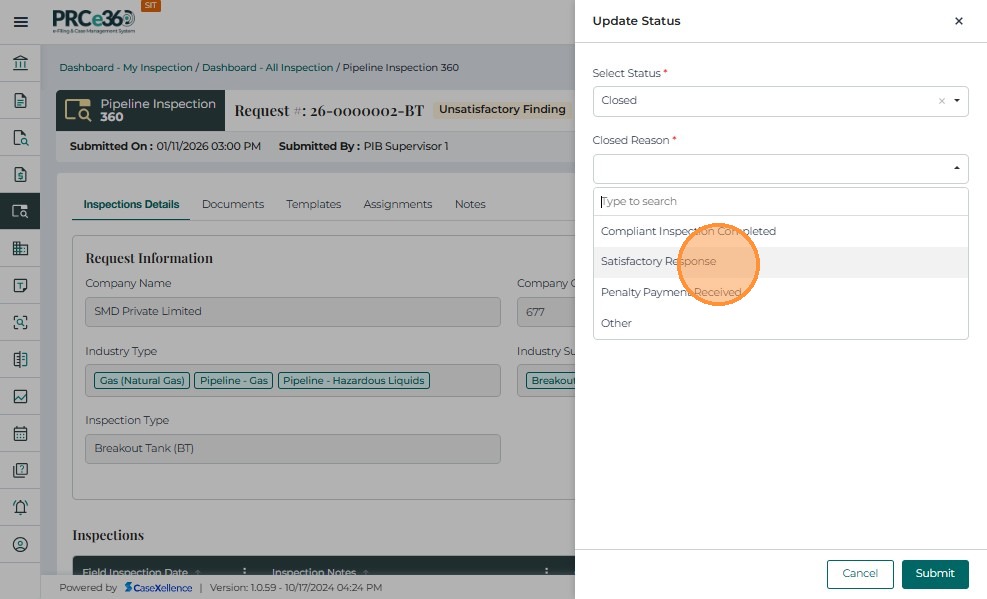
Select the appropriate Closed Reason from the dropdown:
-
Compliant Inspection Completed
-
Satisfactory Response
-
Penalty Payment Received
-
Other
-
-
If Other is selected, enter a custom reason in the text box.
- Click Submit to complete the closure.
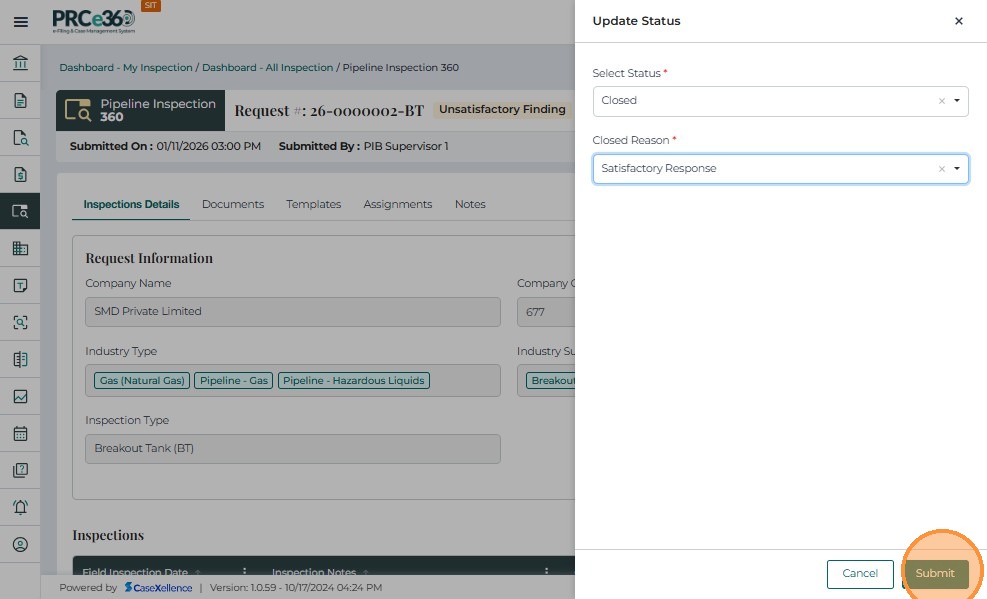
- A success message confirms the update, and the inspection is now marked as Closed and locked for further changes.
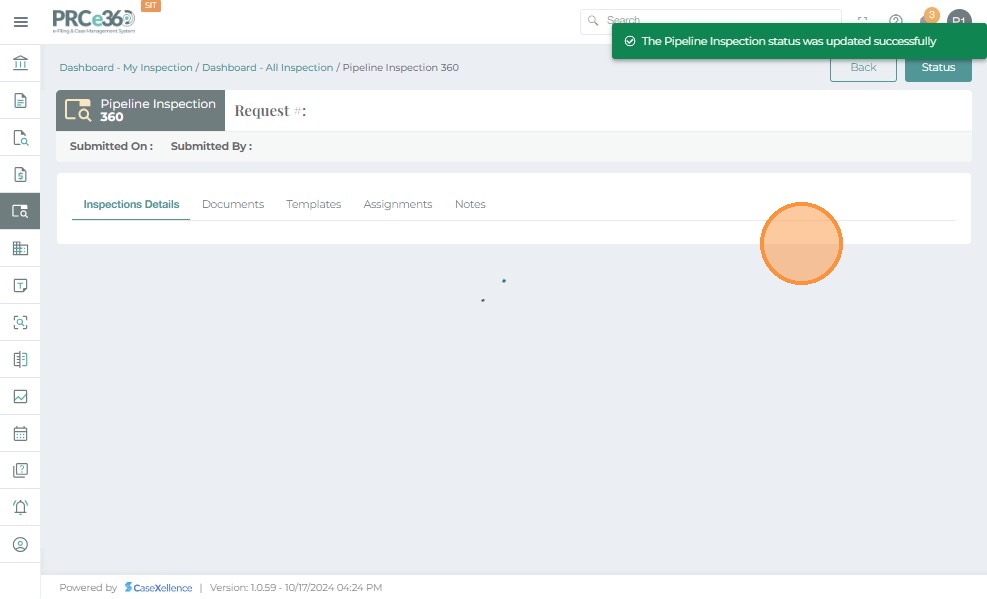
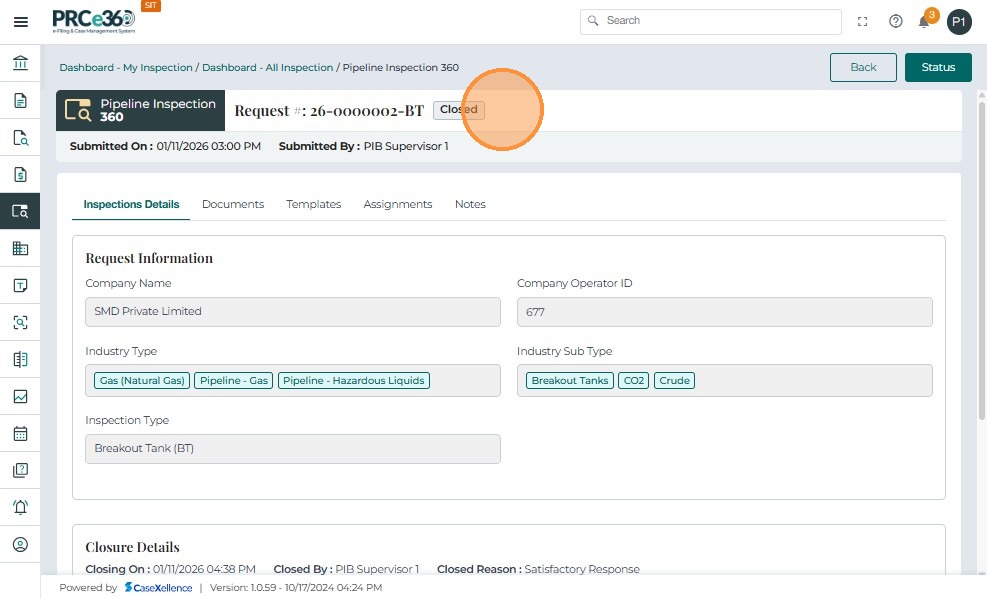
Once the inspection status is updated to Closed, the system displays the final view:
-
The inspection is now in a read-only state — no further edits or status updates are allowed.
-
Closed inspections remain visible in dashboards and reports for reference but cannot be reopened.
Viewing Inspections under Company 360
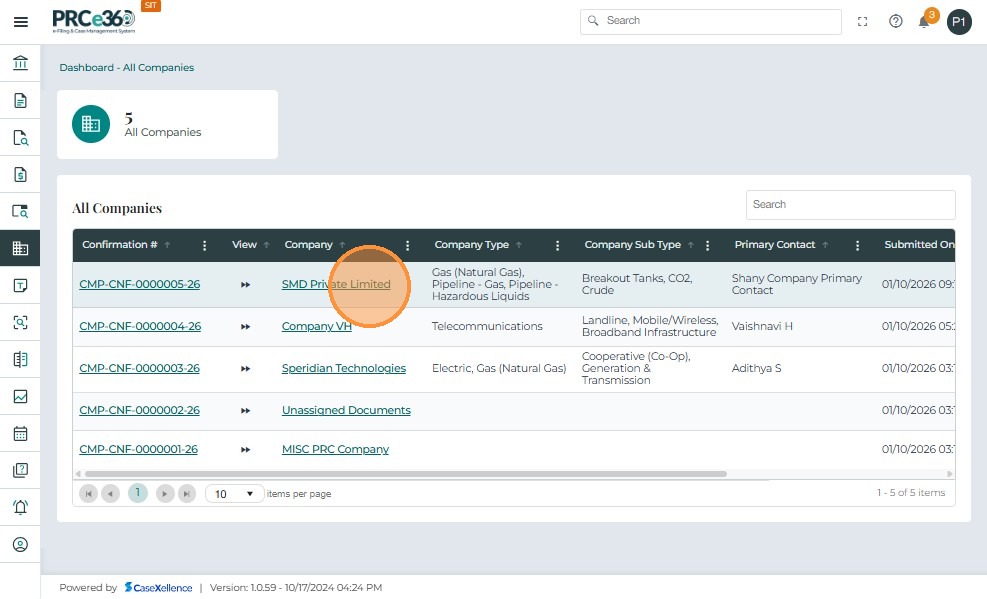
- From the left panel, click Companies to view the list of registered companies.
- Click on the desired Company Confirmation Number to open the Company 360 page.
-
Under the Inspections tab, all inspections linked to the company are displayed with details such as:
-
Inspection #
-
Type
-
Assigned Lead Inspector
-
Assigned Staff
-
Current Status
-
-
The inspection status (for example, In Progress, Unsatisfactory Finding, Closed) helps users quickly identify inspection outcomes.
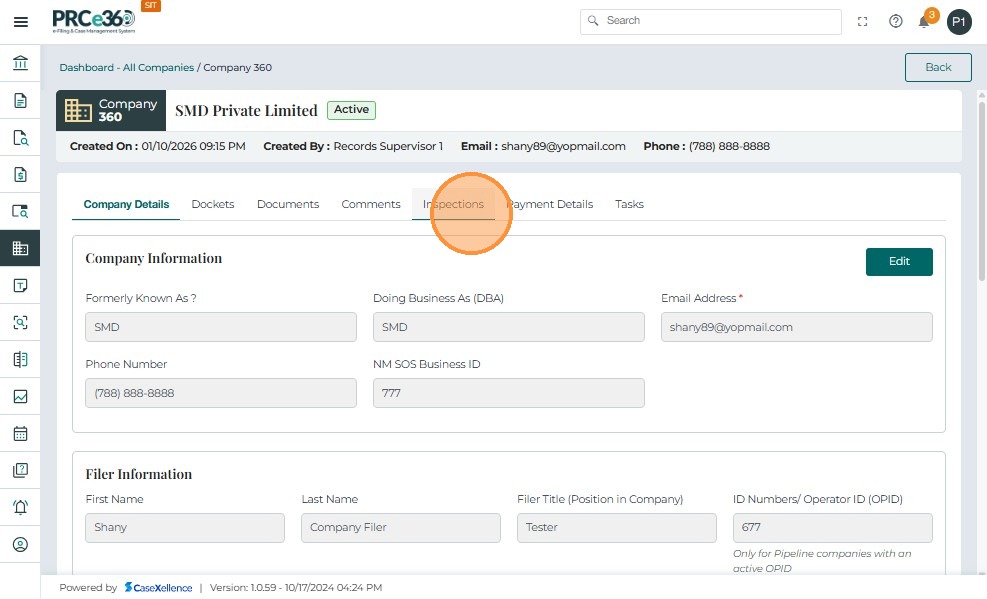
- Use the Search bar within the Inspections tab to quickly find inspections by entering keywords such as Inspection #, type, or status.
Key Takeaways – Pipeline Inspection Module
-
Enables PSB Supervisors to create, assign, and close inspections efficiently.
-
Allows PSB Staff to view, update, and log re-inspections for assigned inspections.
-
Supports document upload and internal sharing within each inspection record.
-
Organizes inspection details, assignments, and documents in clear, tabbed sections.
-
Provides status tracking from In Progress through Partial Compliance or Unsatisfactory Finding to Closed.
-
Integrates with Company 360 for full visibility of company inspection history and outcomes.
See Also
- Register New Company - Register companies for inspection
- Company Management Access Approval - Manage company access
- Advanced Search - Search for inspections and companies
- Dashboard Overview - Navigate the main dashboard